KakaoTalk
Overview
Integrating your KakaoTalk channel with BotBonnie allows you to manage Kakao Moment and Sangdam Talk with BotBonnie.
- Kakao Moment: Kakao Moment messages are one-way promotional messages (for example, annual sale announcement) that can be sent to users who opted in. After integration, you can use BotBonnie's broadcast feature to send Kakao Moment messages.
- Sangdam Talk: Sangdam Talk messages are 1-on-1 conversations initiated by users. After integration, you can use BotBonnie's chat-related features to manage Sangdam Talk messages.
Note
- Alim Talk (transactional messages) is not supported by BotBonnie.
- To comply with regulations in Korea, promotional messages can only be sent to users between 8:00 AM - 9:00 PM (Korea Standard Time).
To connect a KakaoTalk channel with BotBonnie:
- Create a KakaoTalk channel if you do not have a KakaoTalk channel yet.
- You need to have access to the KakaoTalk Channel Admin Center of your channel.
Follow the instructions below to connect your KakaoTalk channel to BotBonnie.
Set up your KakaoTalk channels
Part 1. Switch to a business KakaoTalk channel
If you already have a business KakaoTalk channel, skip to Part 2. Configure channel settings.
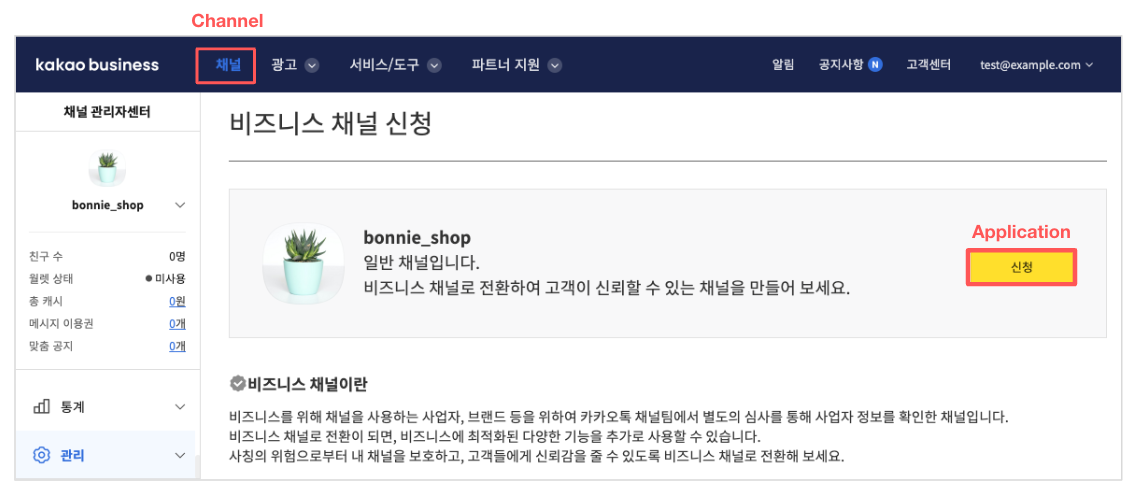
If your KakaoTalk channel is not a business channel, log in to Kakao Talk Channel Admin Center, go to Channel (채널) > Management (관리) > Apply Business Channel (비즈니스 채널 신청) and click Application (신청).
You will need to submit the following certificates to Kakao and wait 3 to 5 business days for Kakao's approval.
- Certificate of Business Registration
- Certificate of Employment or ID card of Representative
- Registration certificates (only for a mail-order business, medical device sales, and health functional food sales business)
For more details, see Kakao's official guide (available in Korean only).
Part 2. Configure channel settings
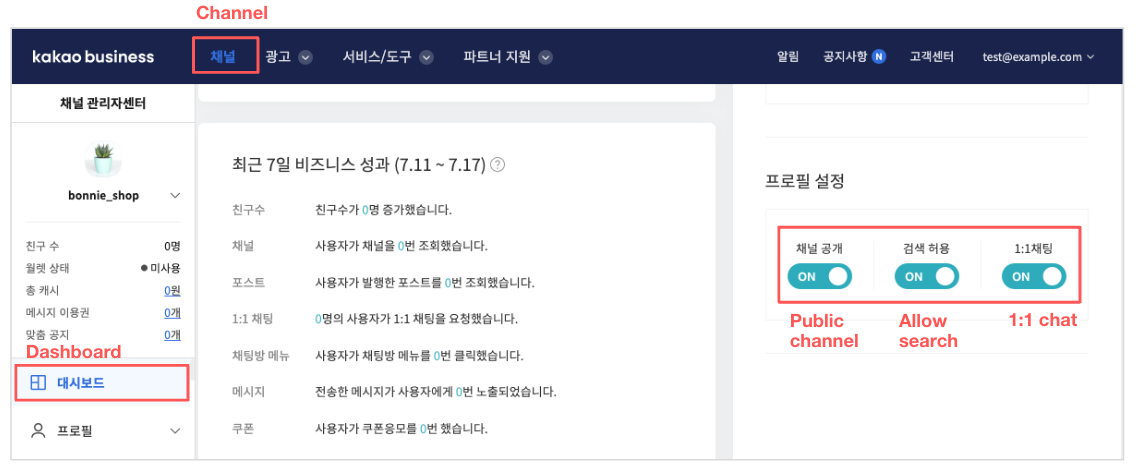
In the Kakao Talk Channel Admin Center, go to Channel (채널) > Dashboard (대시보드) and make sure the following options are enabled.
- Public channel (채널 공개)
- Allow search (검색 허용)
- 1:1 chat (1:1채팅)
Part 3. Create a Kakao Talk developer channel (recommended)
You can create a Kakao Talk developer channel for testing. A developer channel allows you to test BotBonnie features without affecting your channel users and avoid service fees.
You need to have a business KakaoTalk channel in order to create a developer channel.
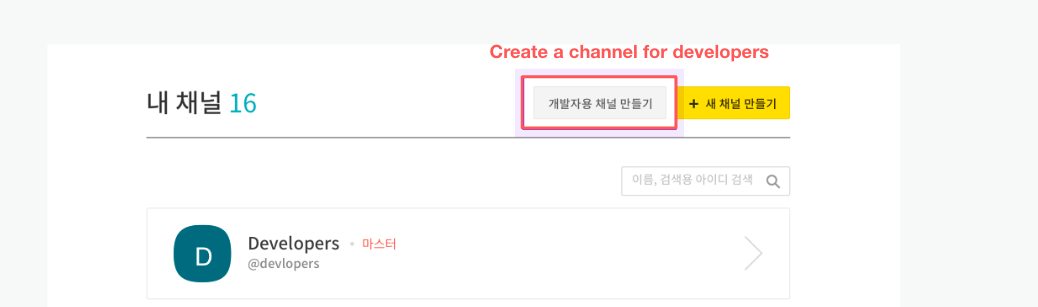
In your KakaoTalk Channel Admin Center, go to Channel (채널), click Create a channel for developers (개발자용 채널 만들기), and create a test channel.
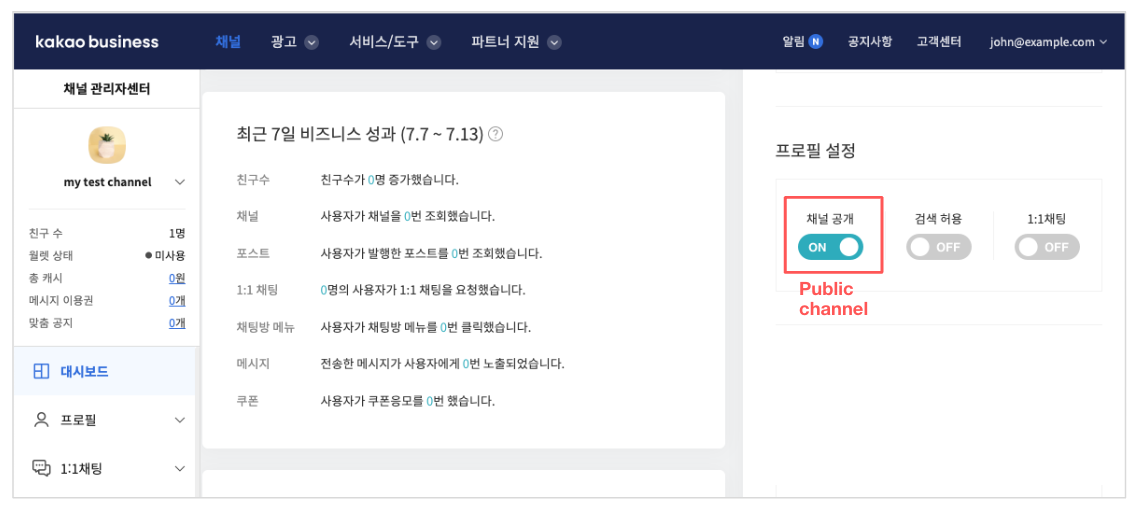
Go to Channel (채널) > Dashboard (대시보드) and make sure Public channel (채널 공개) is enabled.
Part 4. Provide channel information to your CSM
Contact your customer success manager and provide the following channel information.
- KakaoTalk channel (your production environment)
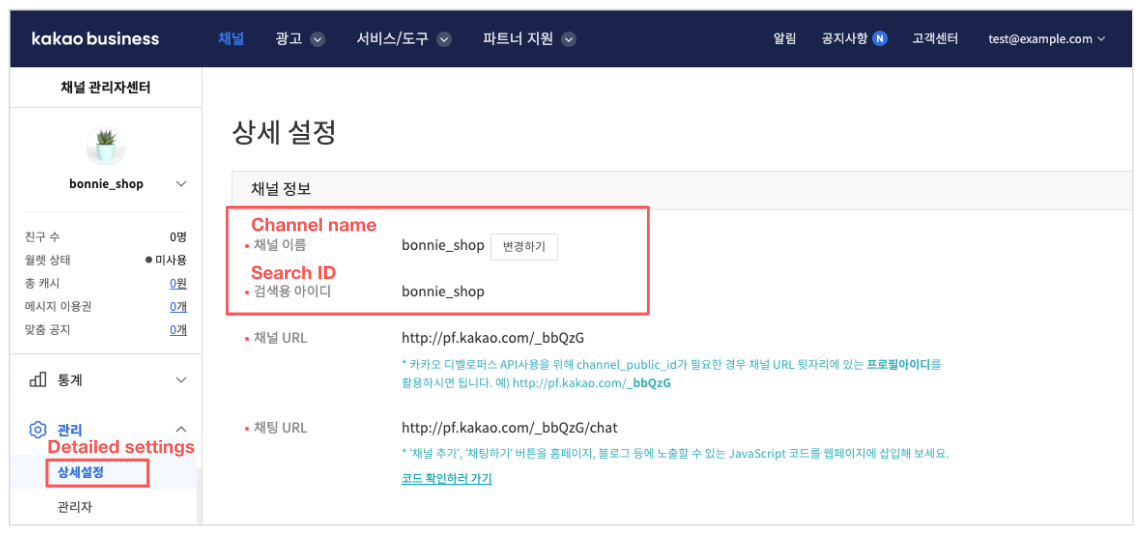
- Channel name (채널 이름)
- Search ID (검색용 아이디)
- KakaoTalk developer channel (if available)
- Channel name (채널 이름)
You can find this information by going to Channel (채널) > Management (관리) > Detailed settings (상세설정) in KakaoTalk Channel Admin Center.
Next, BotBonnie team will complete the rest of the account integration and notify you when the connection is ready.
Check the connected channels
After BotBonnie team completes the integration, you can now check the connected channels on the console.
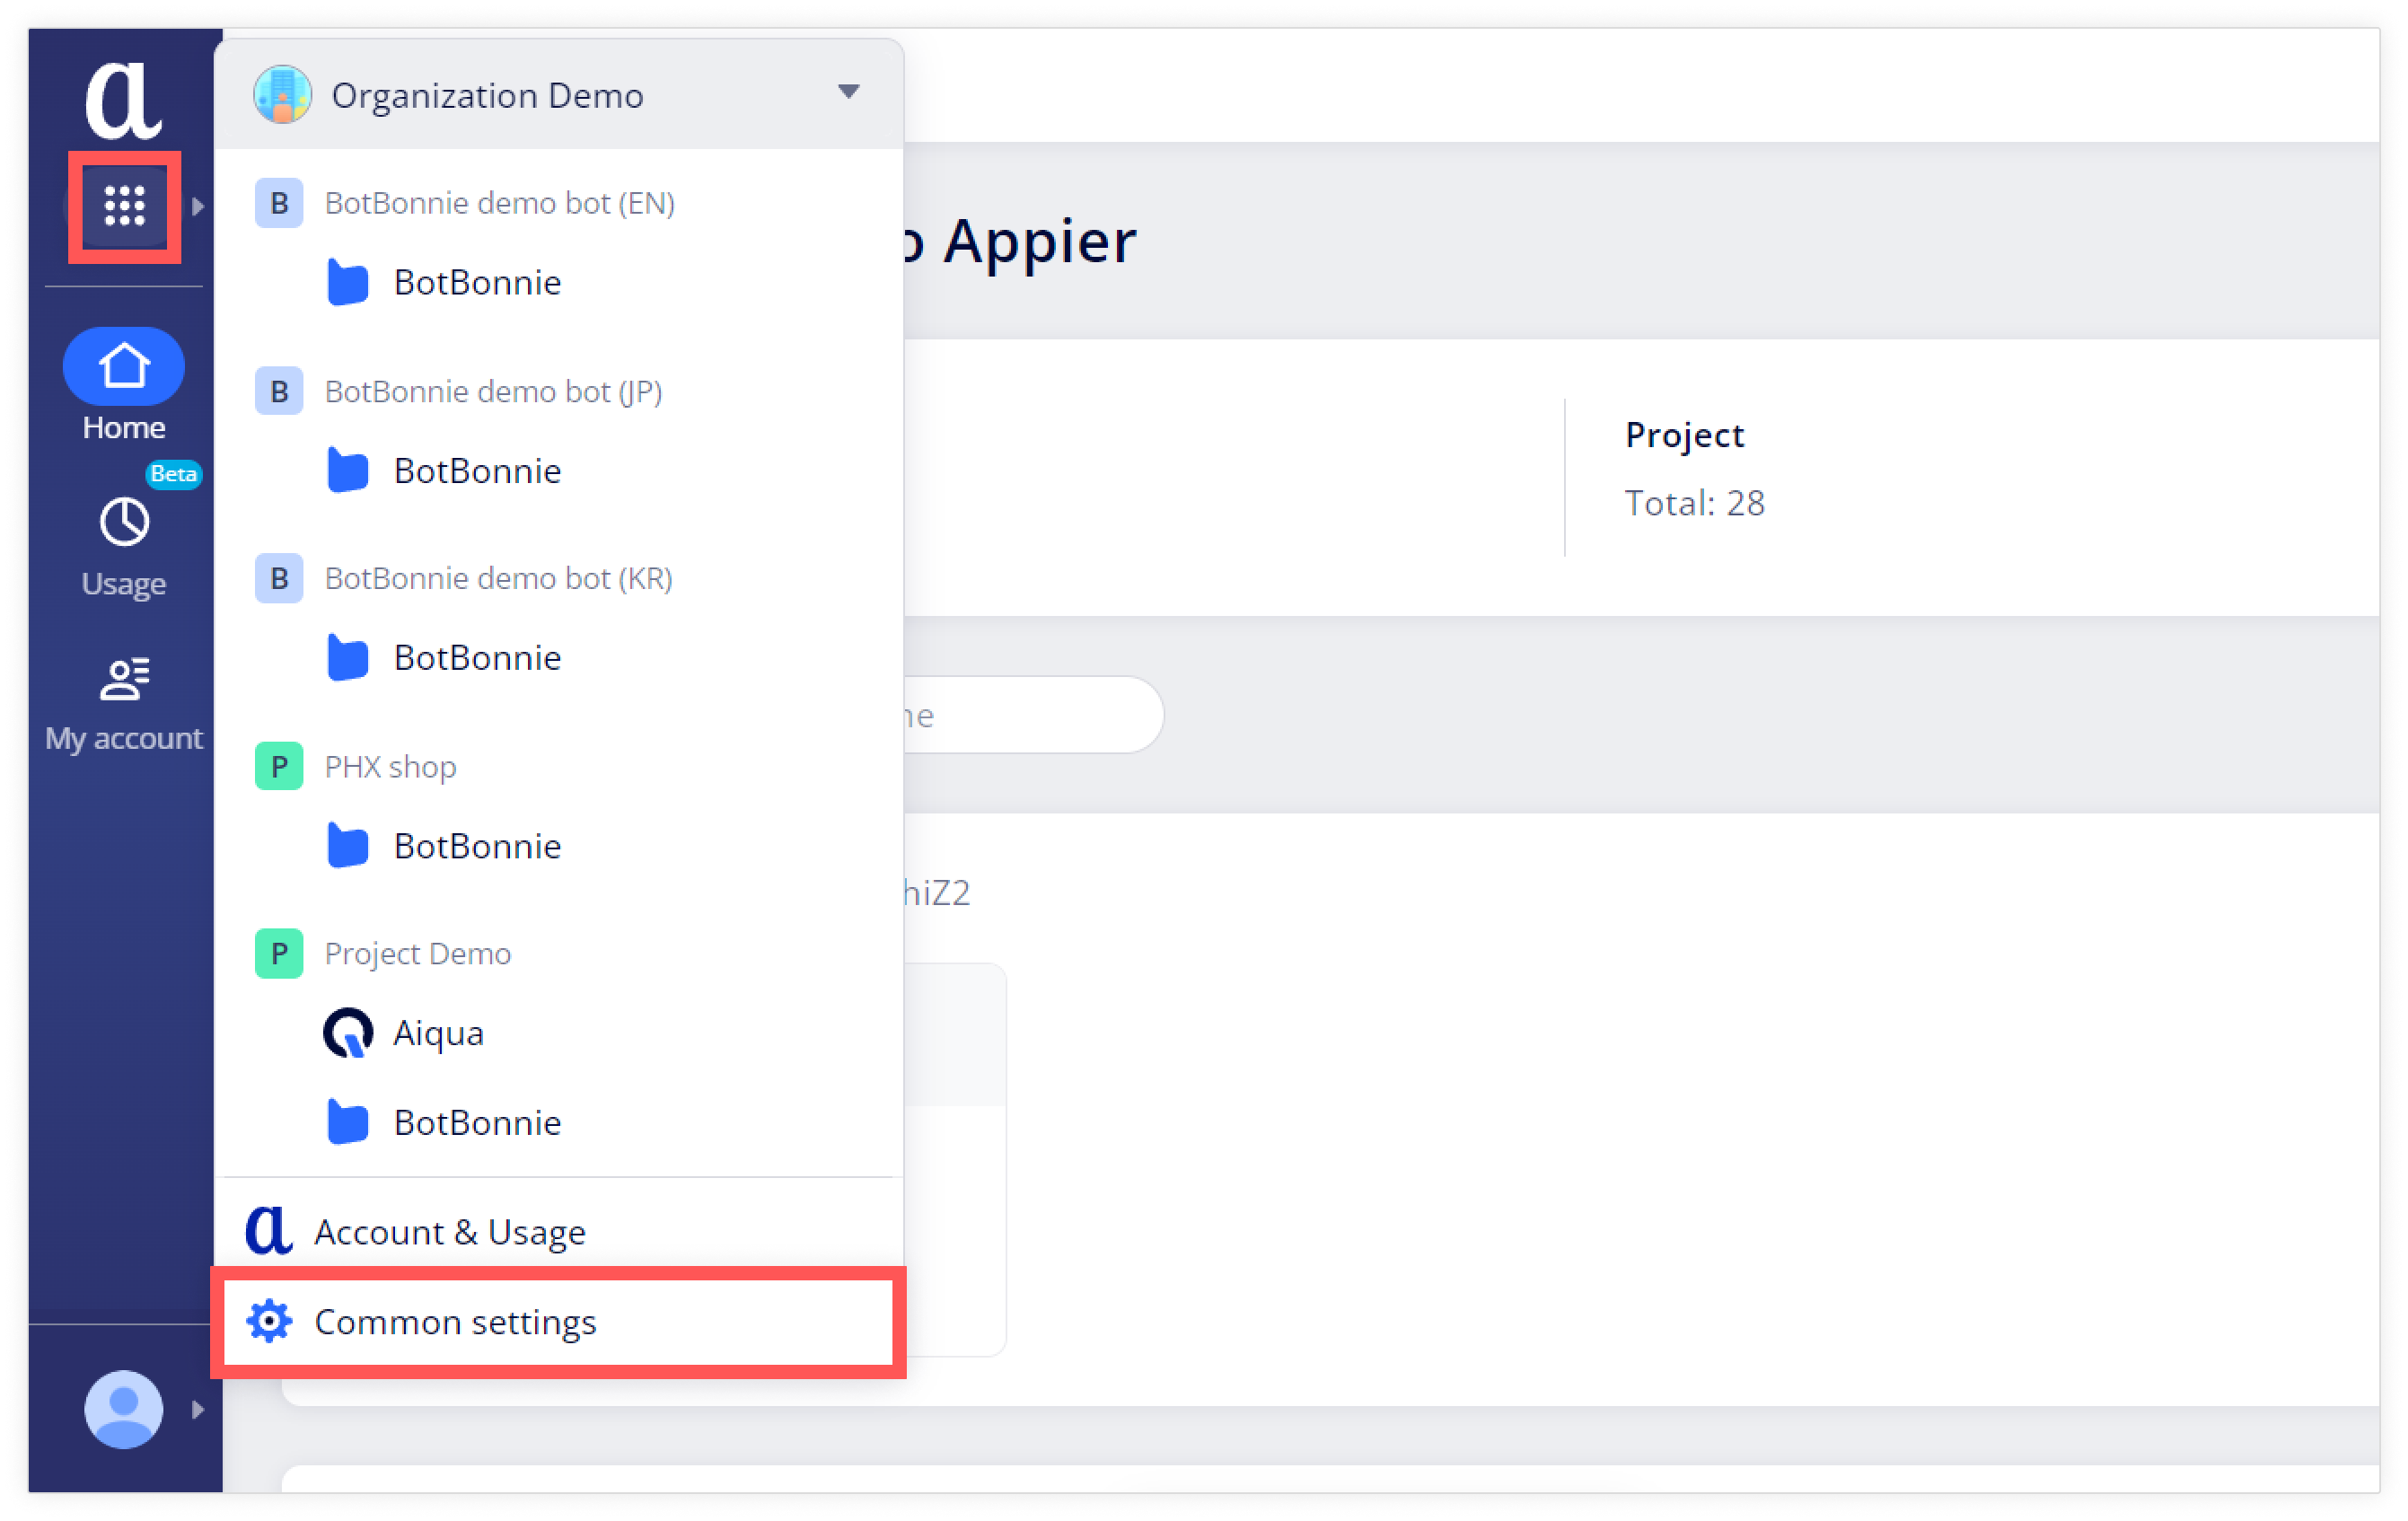
Click the app launcher icon > Common settings.
Next, click Channels on the navigation sidebar then select KakaoTalk from the Filter by platform dropdown menu.
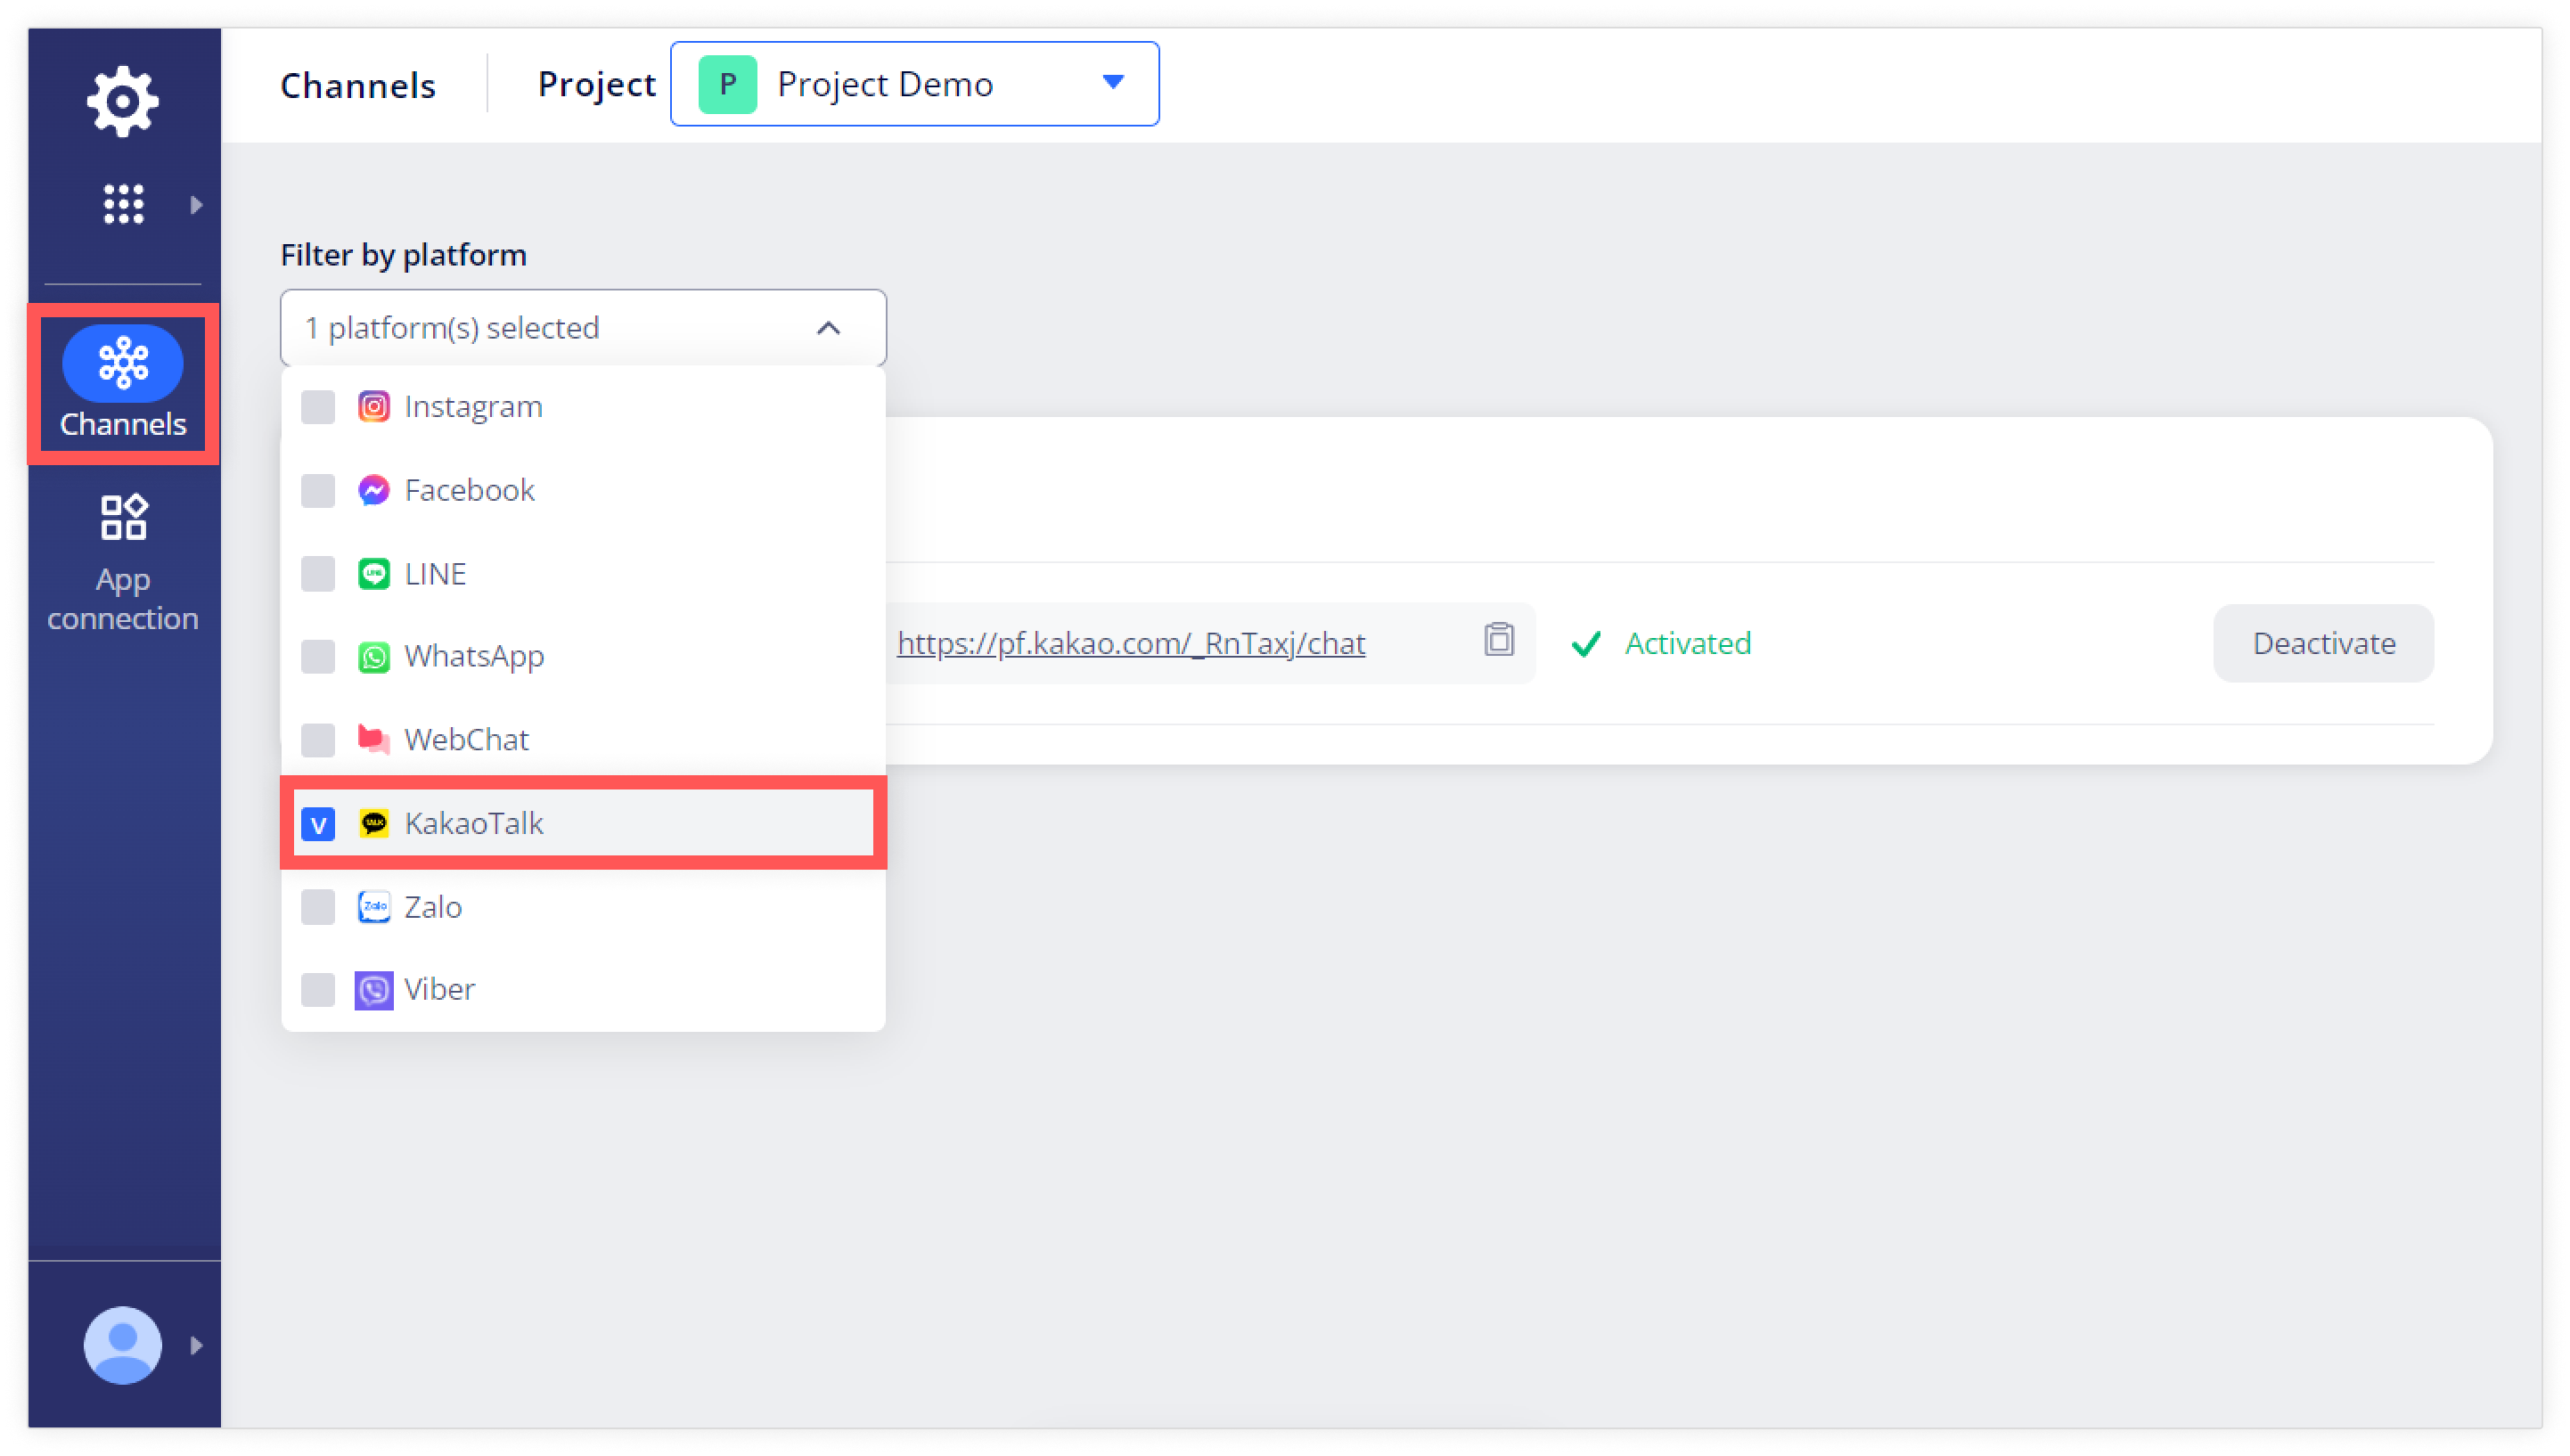
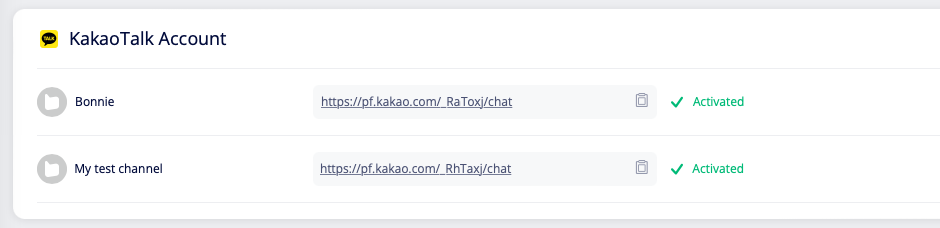
You will see your connected channels with an Activated status displayed in green.
Test your connection
From the left menu, go to Content > AI rules, then click + Add AI Rule.
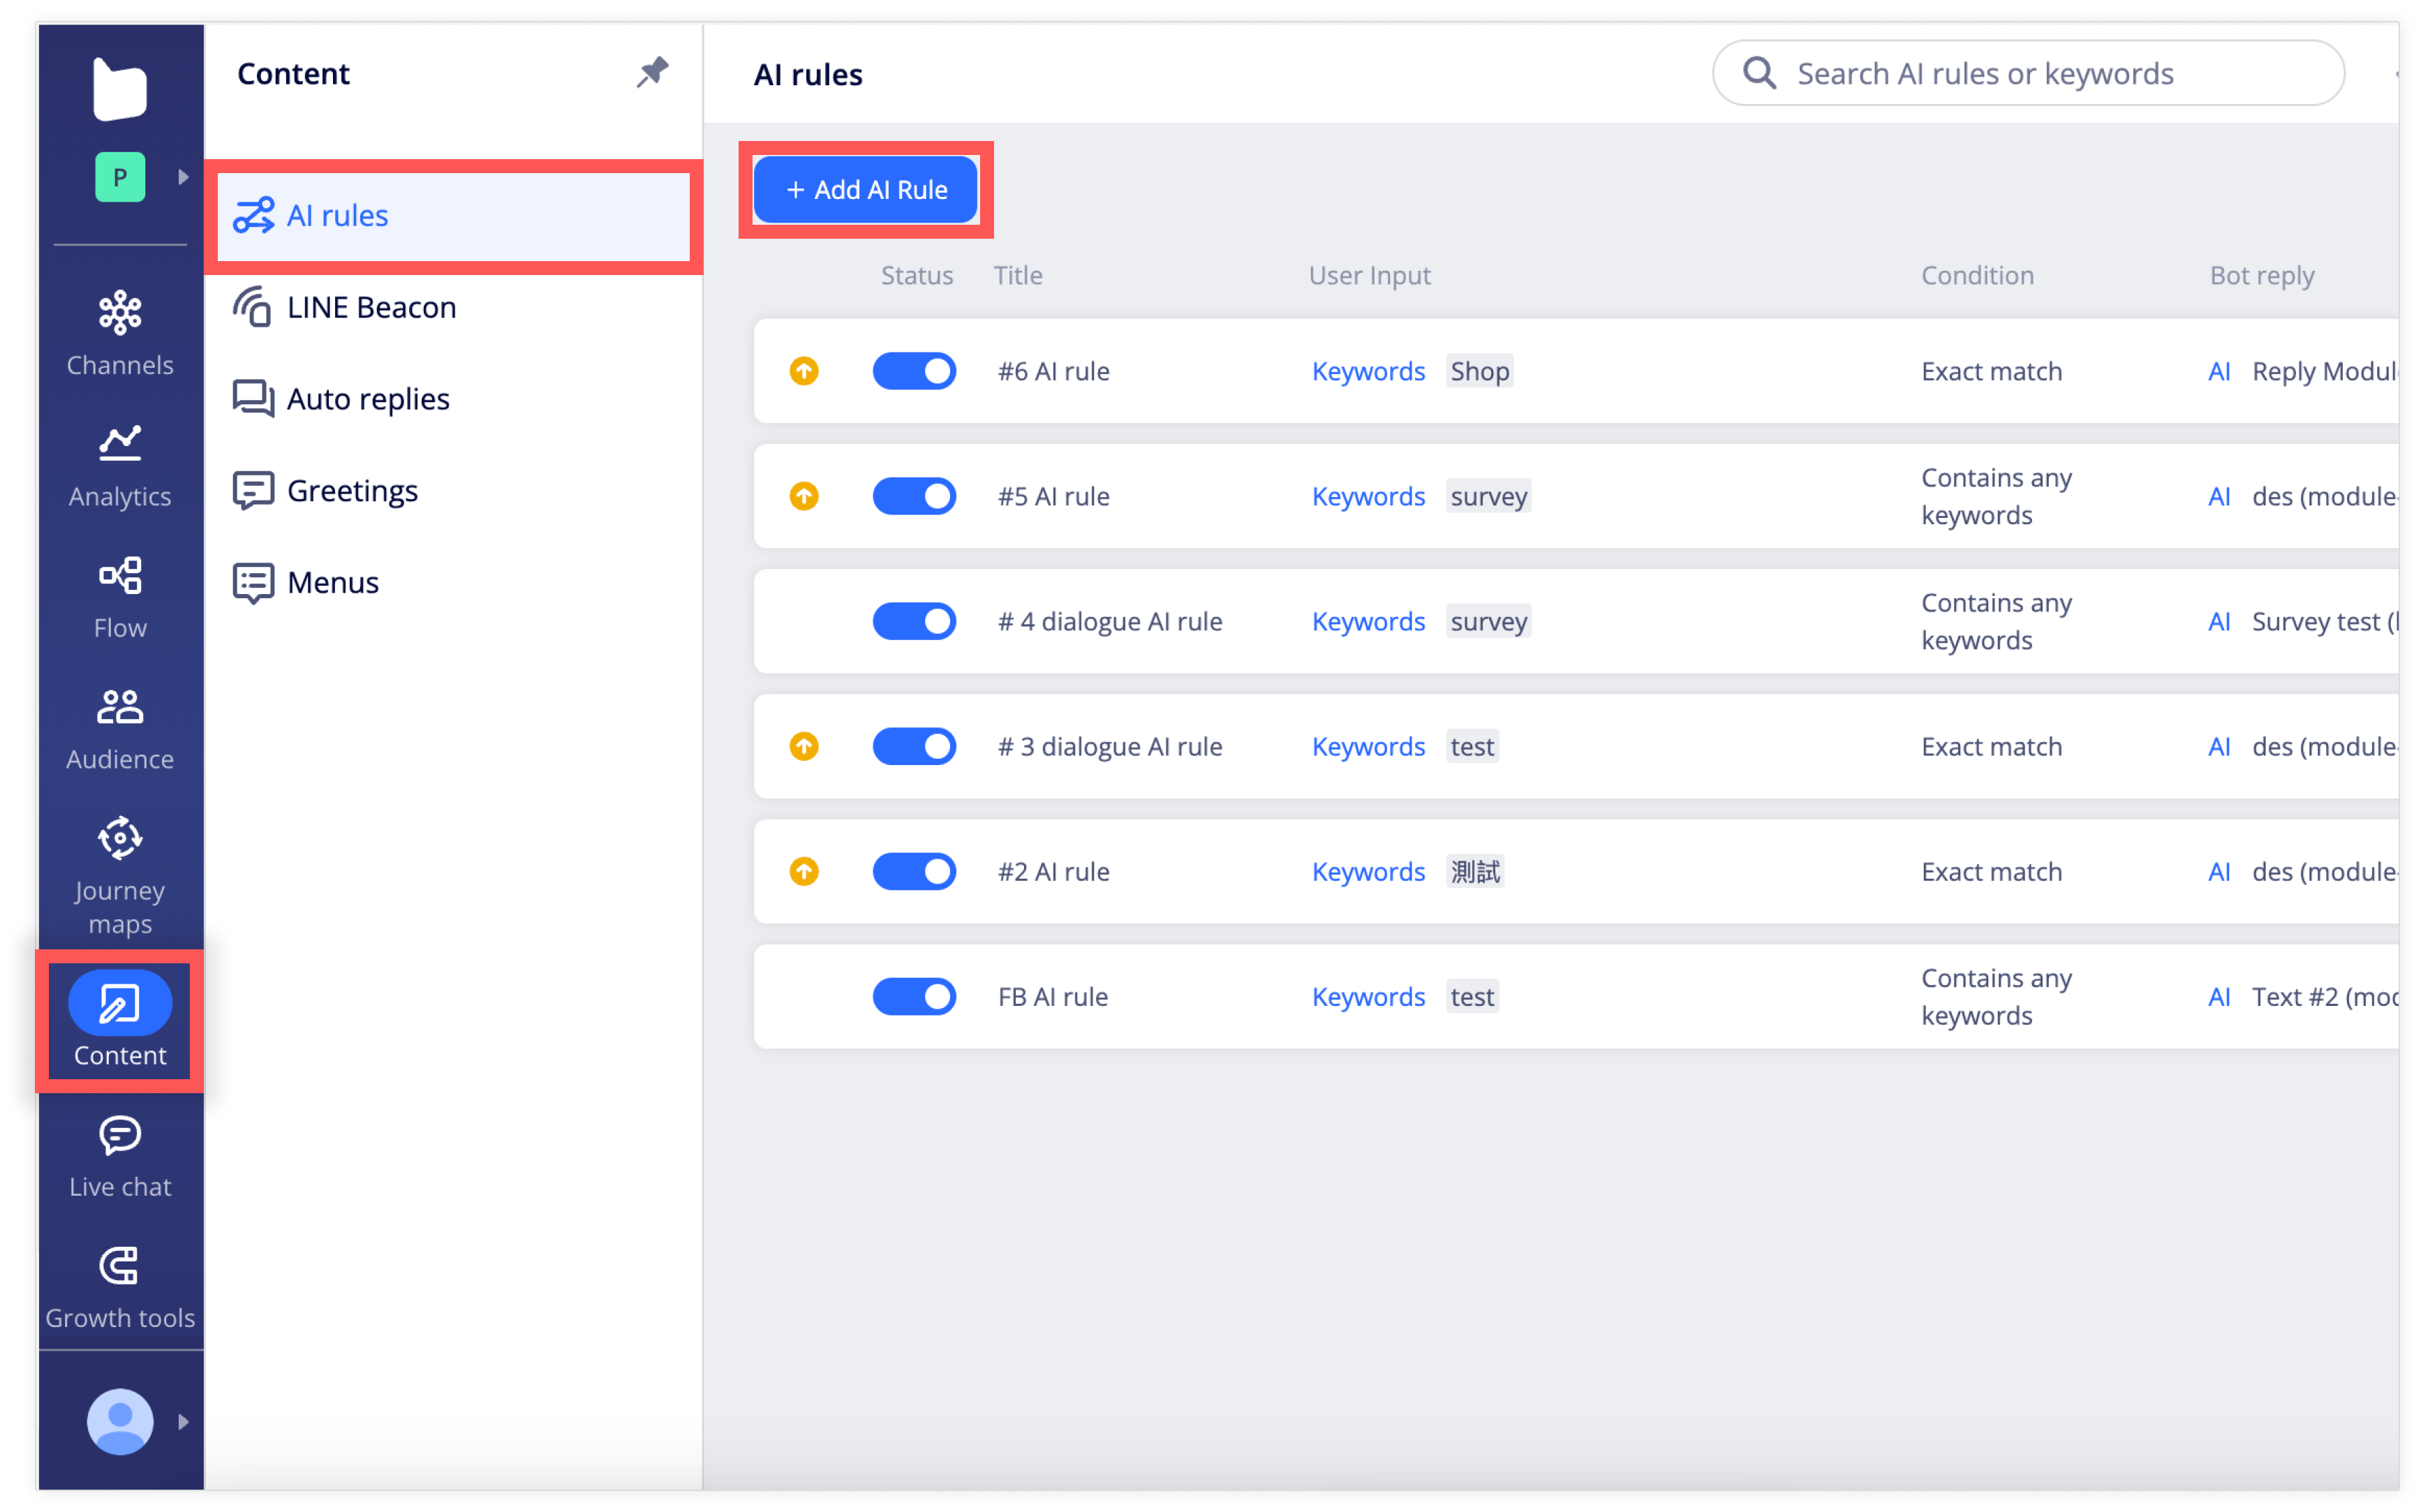
Expand the new AI rule, enter a keyword under User input (for example, test), select Exact match, select a module to be the Bot reply, and click Deploy bot. The keyword should be something your users are unlikely to enter when they send a message to your KakaoTalk channel.

Send a message to your KakaoTalk channel that exactly matches the keyword in the AI rule and you should see the module you selected as the reply.
Updated 25 days ago