Test and Publish the Journey
Test the journey
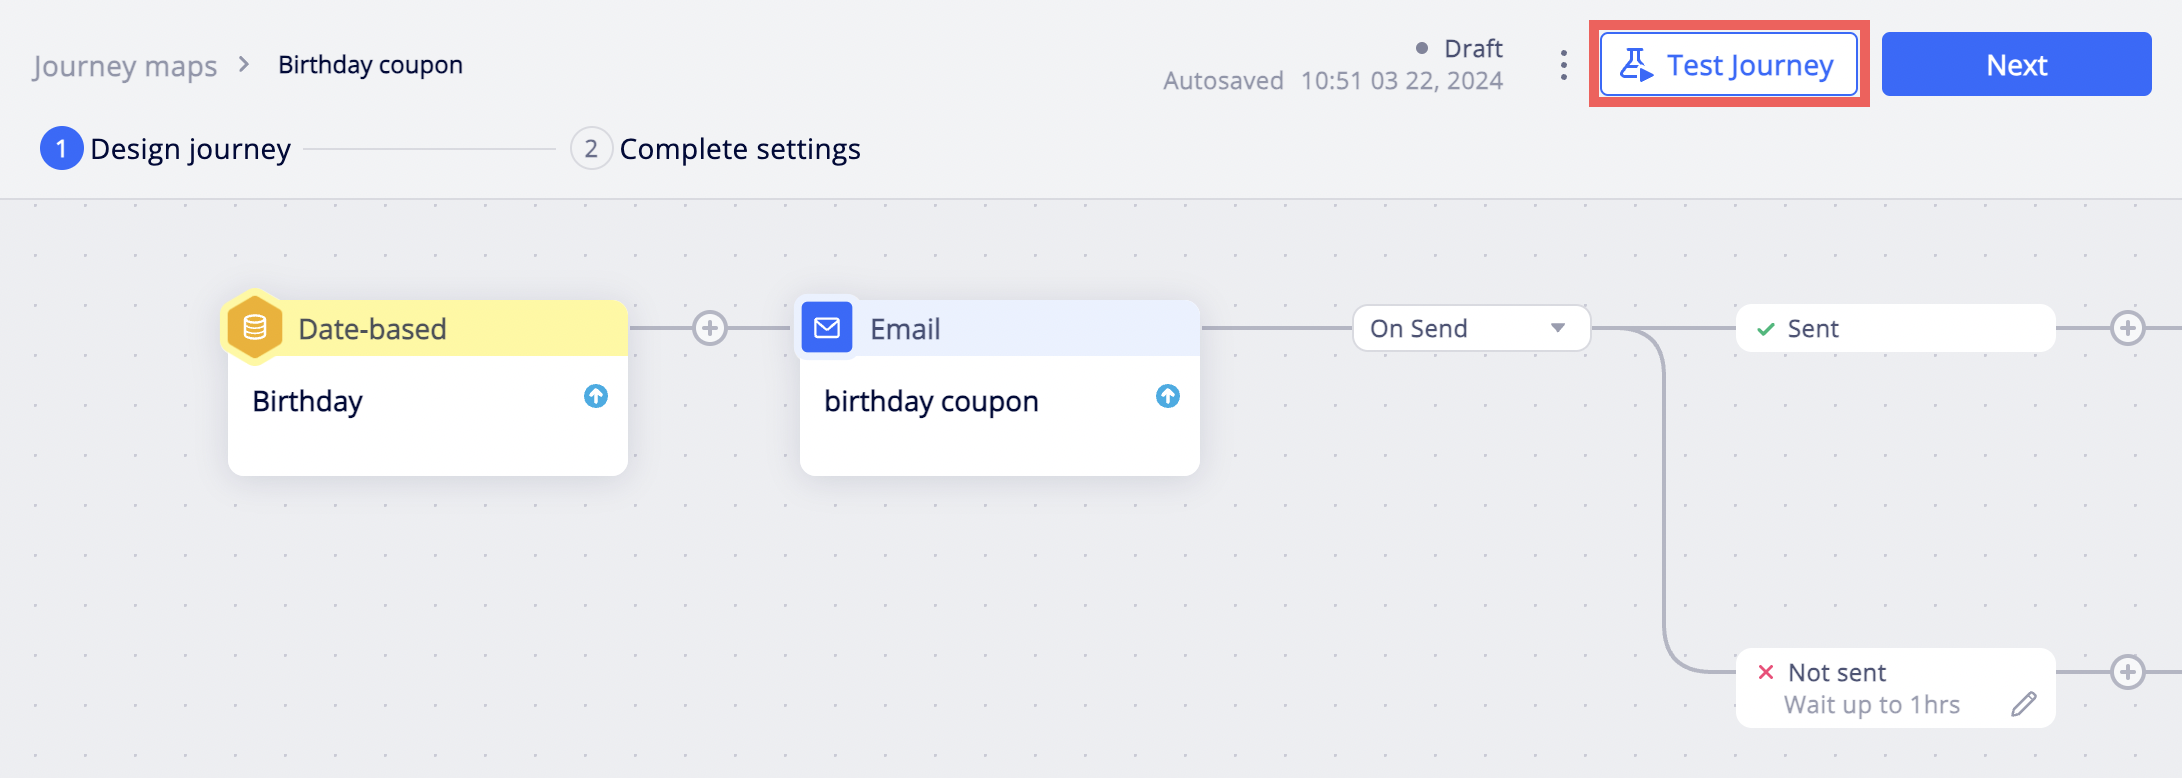
After you've finished creating your journey, you can test the journey to visualize how a user traverses the journey before publishing it. From the top bar, click Test journey.
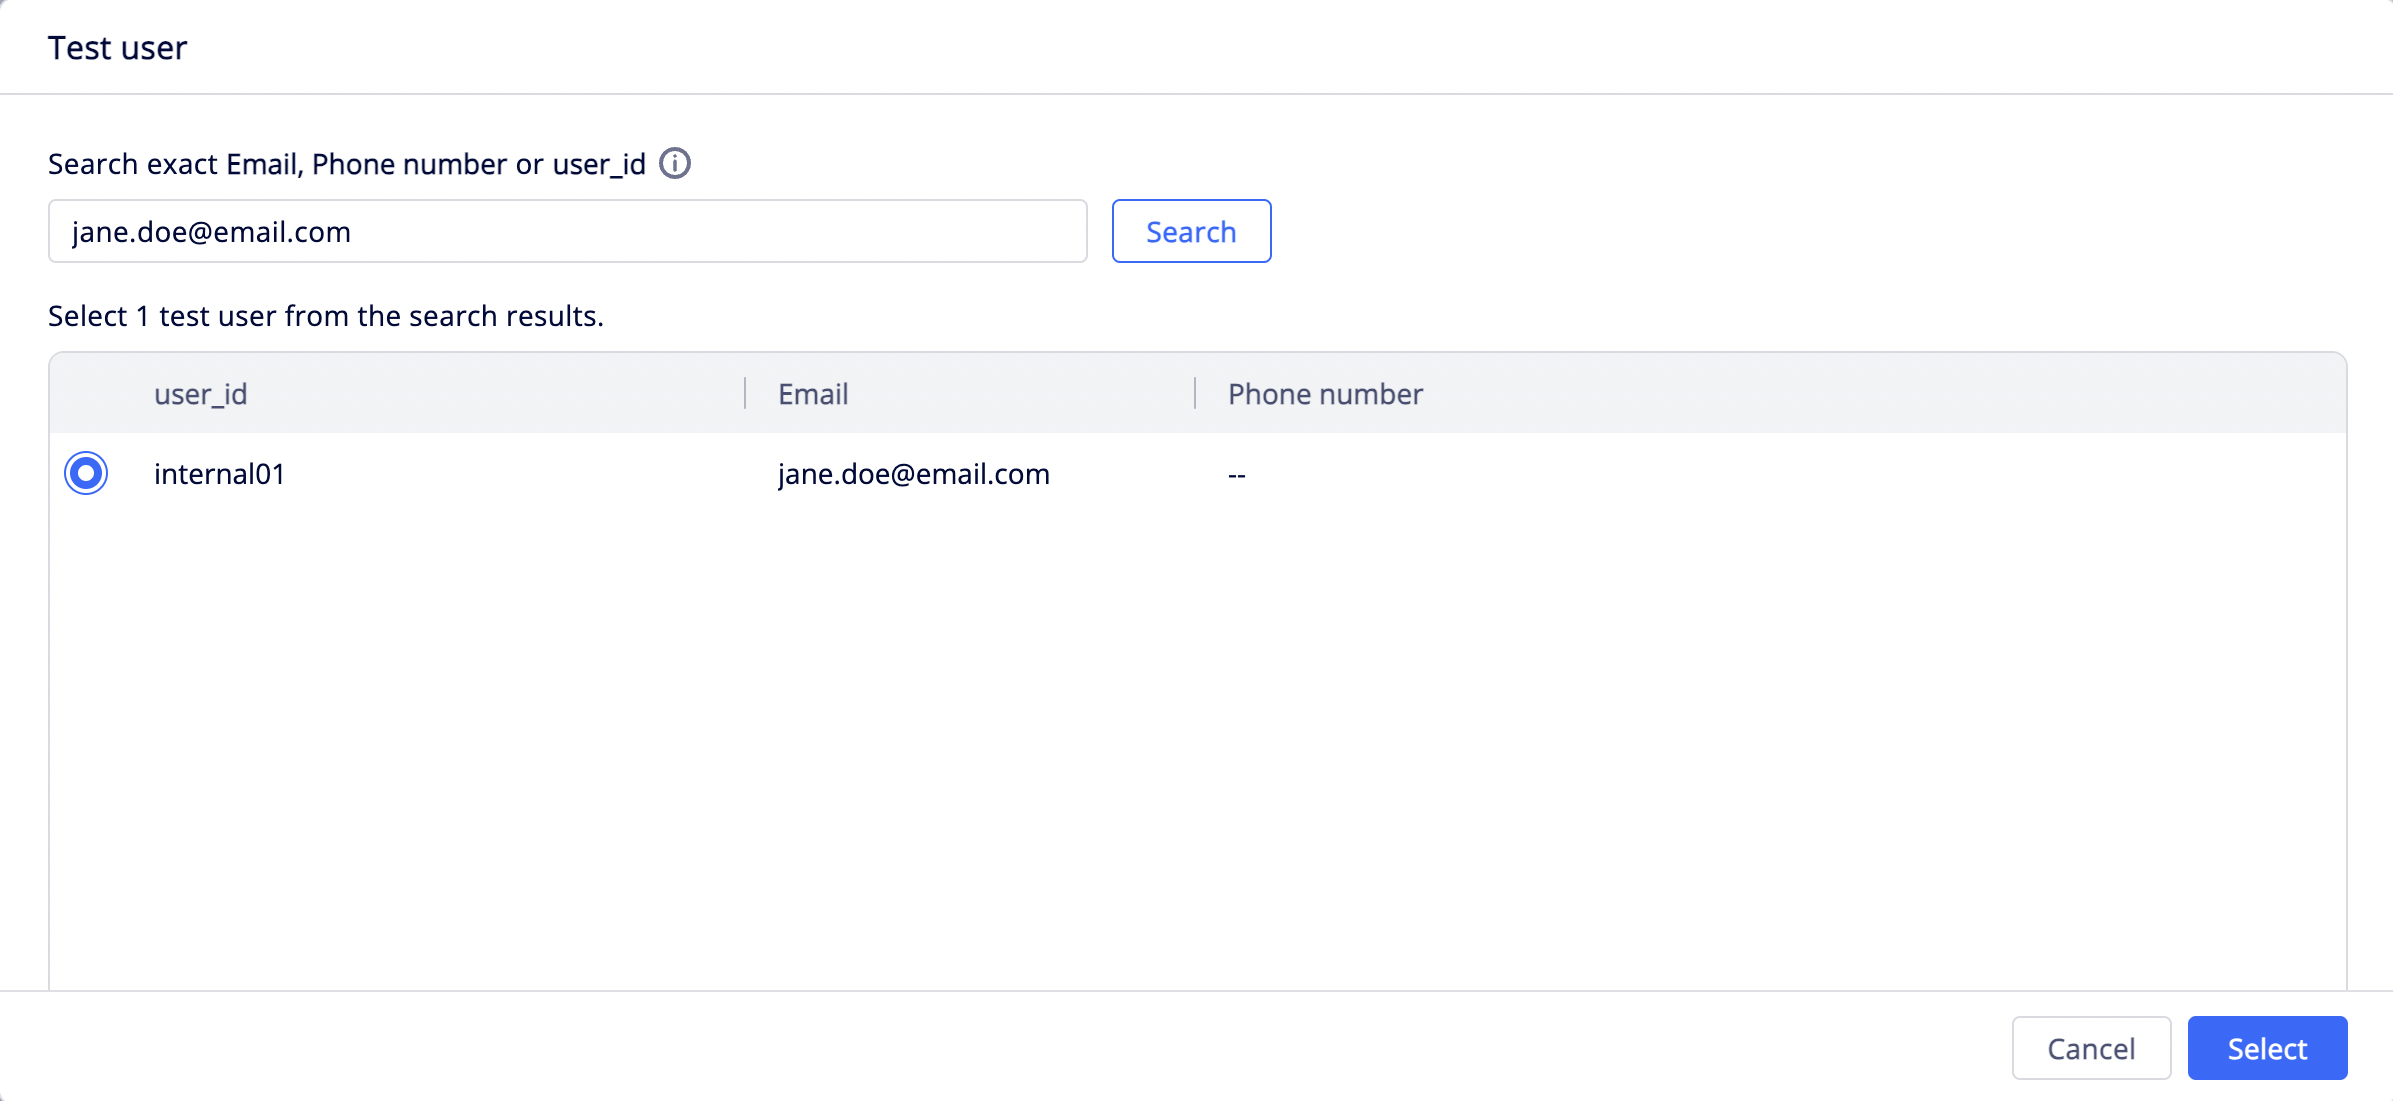
To add a test user, click Select user and search for the test user. Next, select a user, and click Select.
- Search by entering the complete email, phone number, or
user_id. The search results only include users who exactly match the data you entered. Searches are case-sensitive. - You can only add one test user.
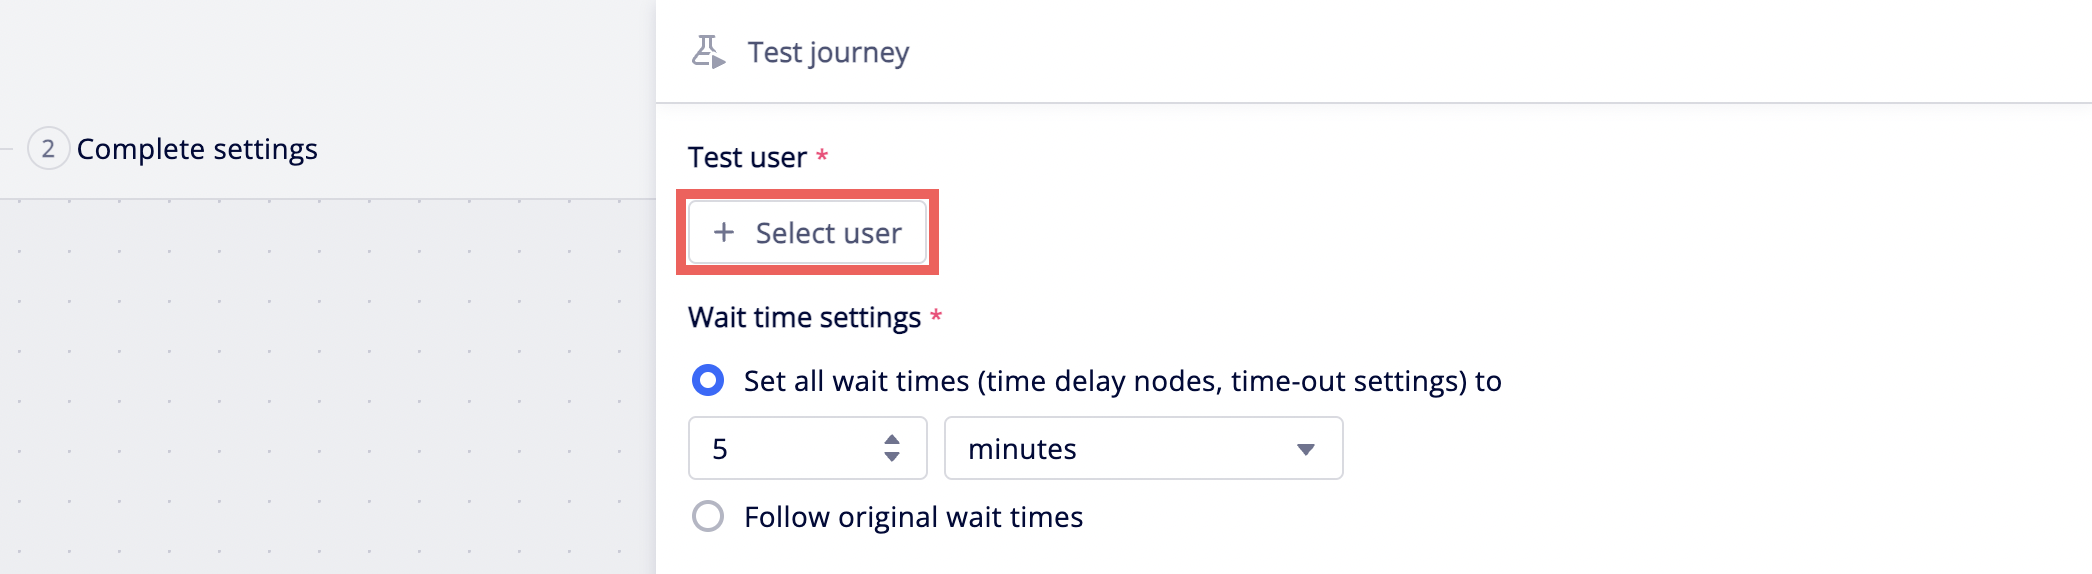
Under Wait time settings, you can shorten the wait nodes to speed up the test process. Select Set all wait times (time delay nodes, time-out settings) to and set a new wait time. The wait time will be applied to the following nodes.
- Time delay nodes
- Wait for conditions nodes: Time-out settings
- Message nodes: Time-out settings

Under Trigger node settings, if you select Bypass the trigger node, the test user will automatically enter the journey even if they do not meet the trigger condition.
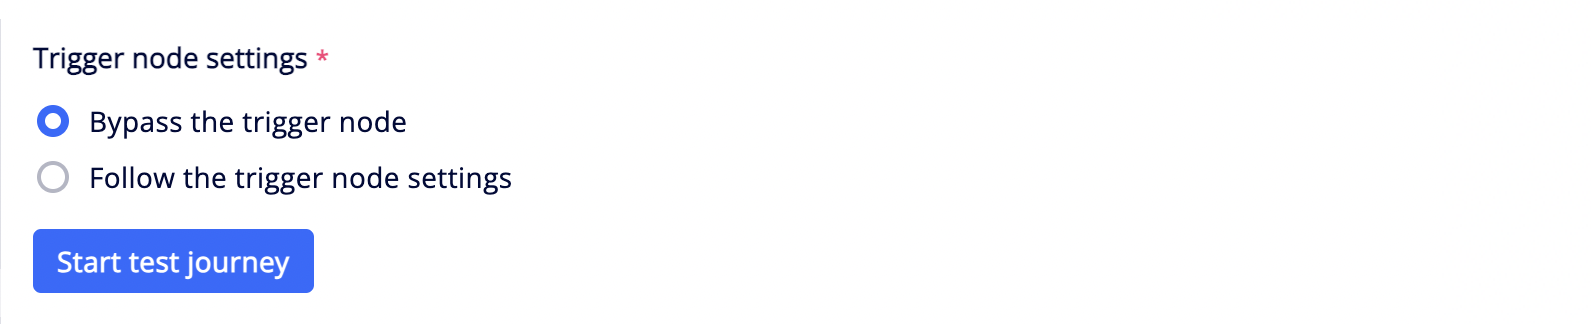
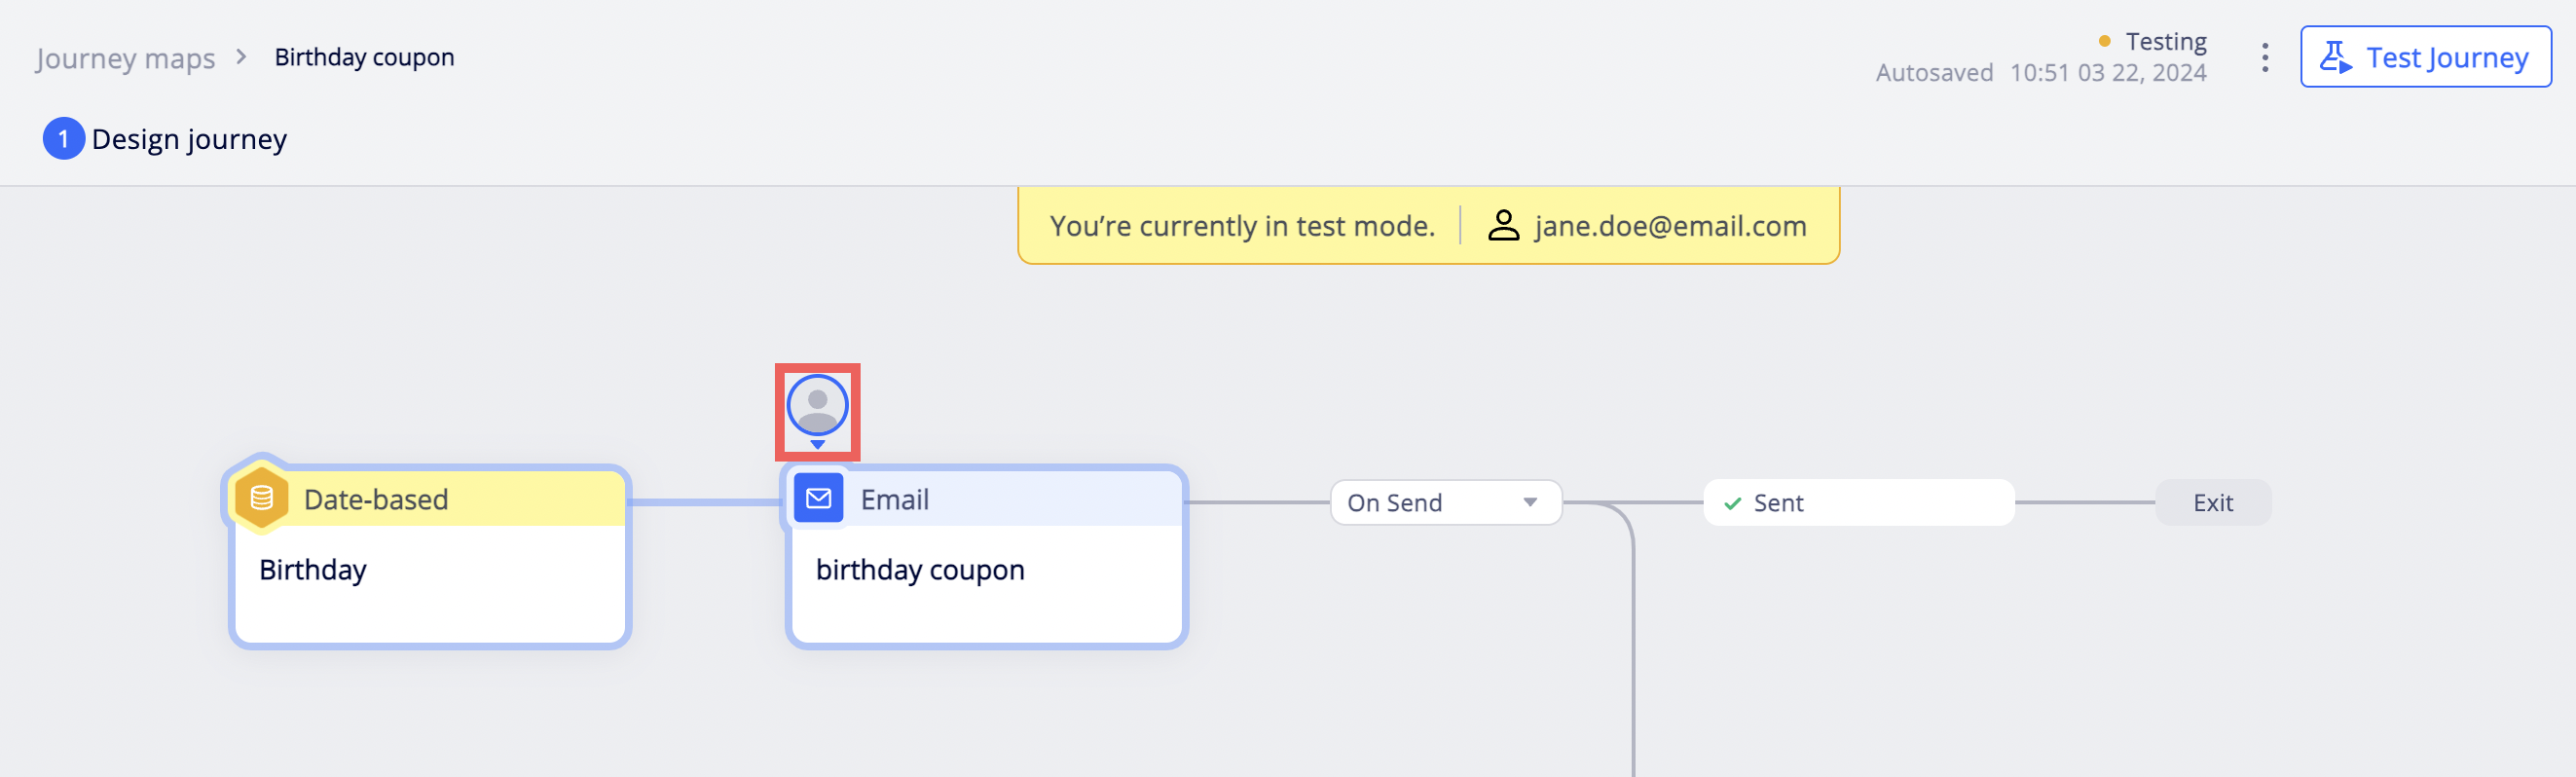
Finally, click Start test journey to begin testing. In test mode, you can see the test user's position in the journey.
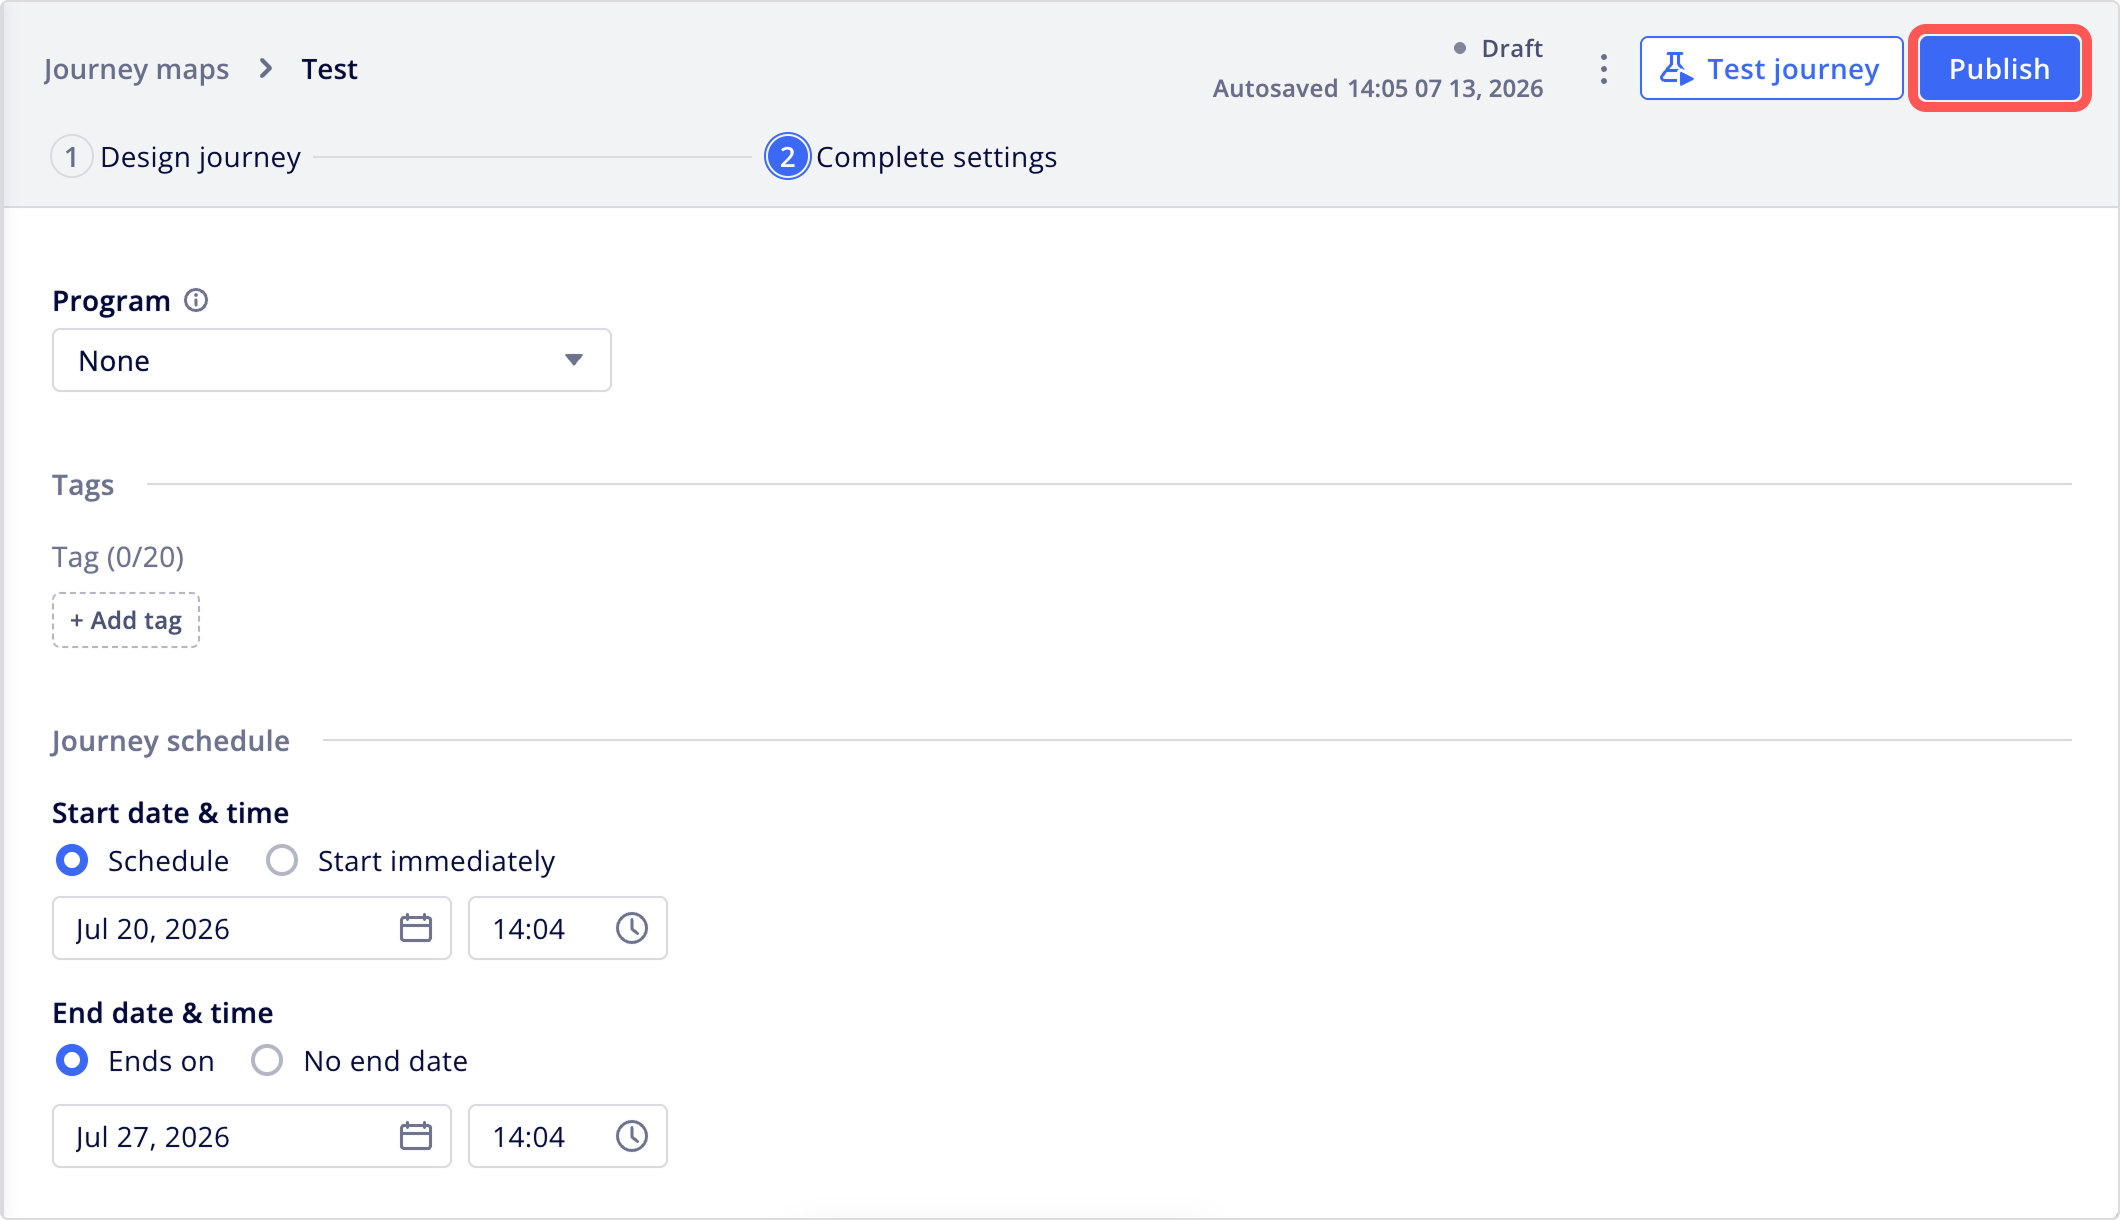
Publish the journey
When you have completed the settings, click Publish.
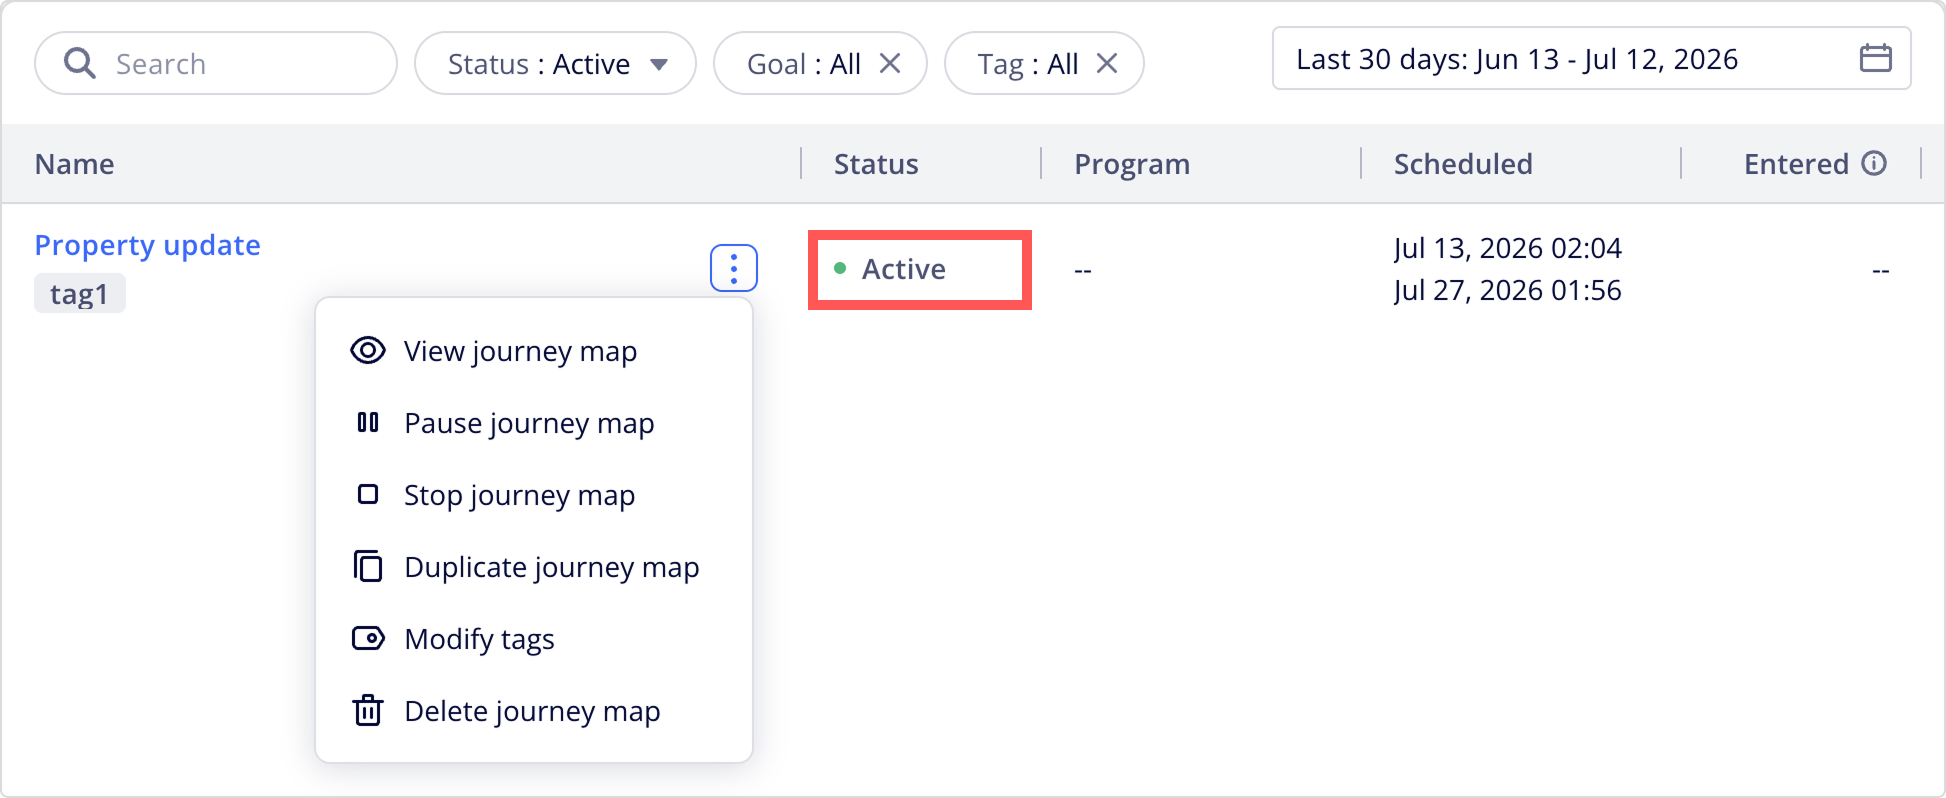
Once the journey starts running, its status will change to Active.
Edit the journey after publishing
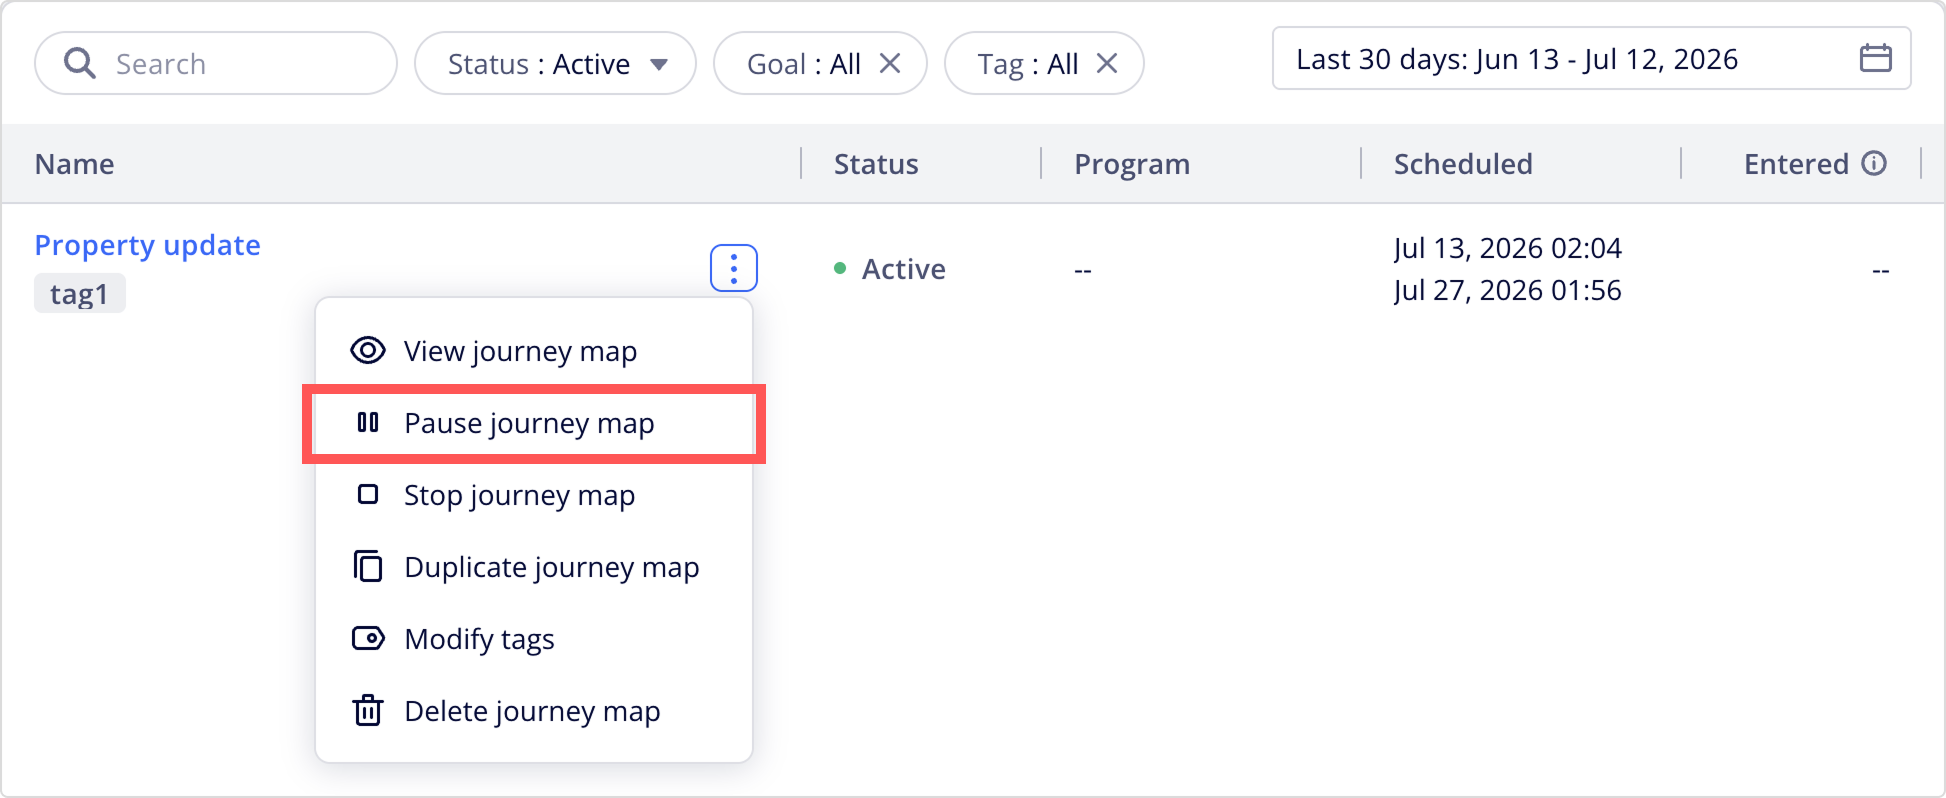
NoteTo learn about journey statuses and which ones allow editing, see the Managing Journey Maps.
Updated 10 days ago