Journey Copilot
After adding a new journey map from scratch, you can use journey copilot, your AI-powered assistant, to automatically generate a journey map based on a text description of the desired user journey, for example:
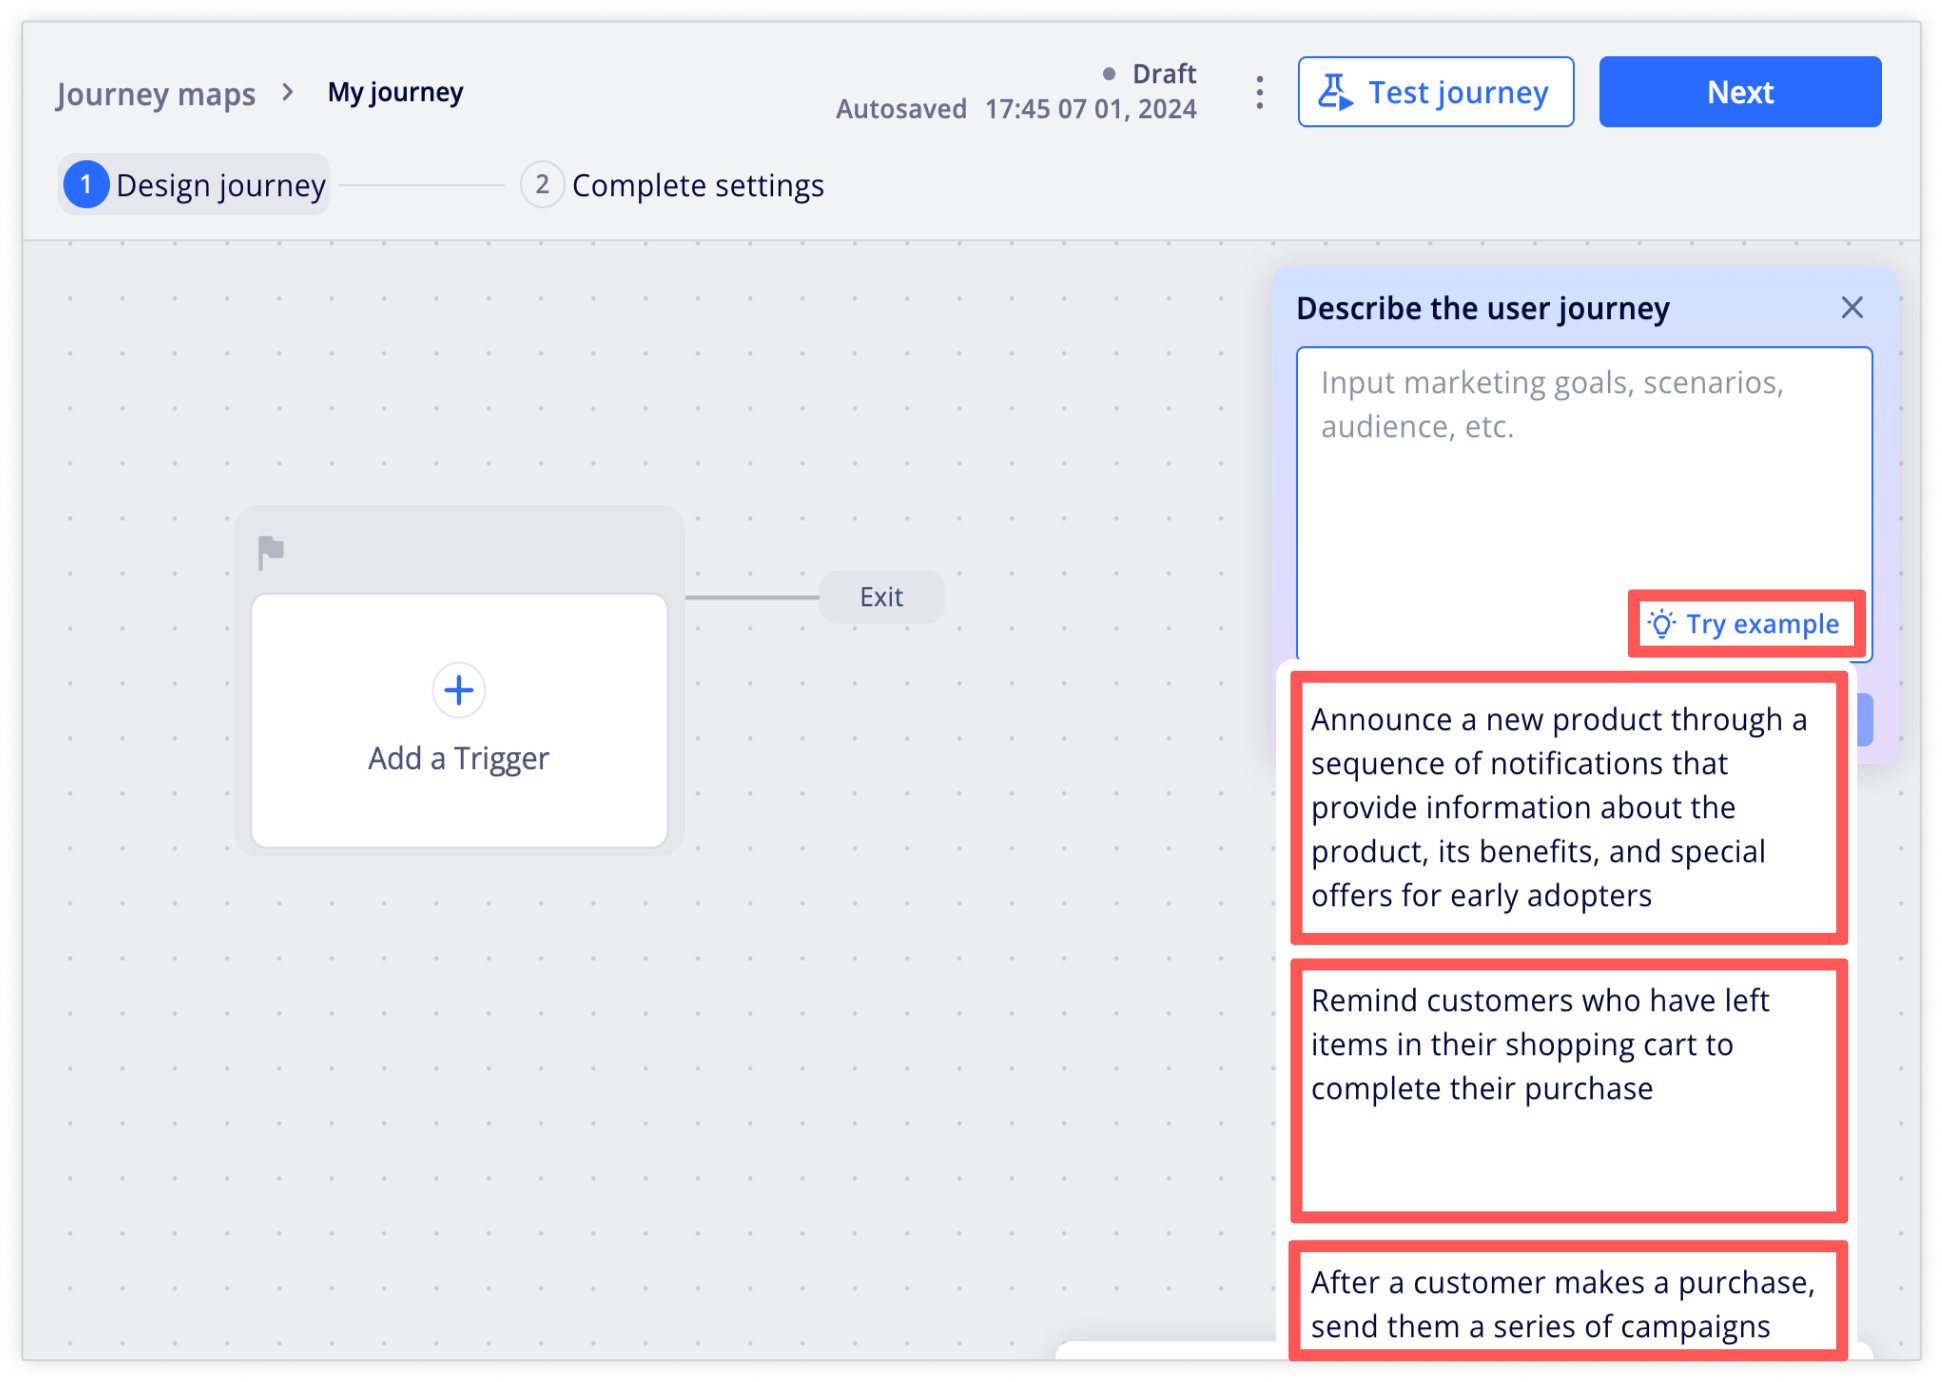
- "Drive newsletter sign-ups for exclusive product launch notifications."
- "Increase user engagement by promoting participation in a seasonal winter sales event with limited-time discounts."
- "Boost customer retention by encouraging recent purchasers to join the loyalty program, offering points for every purchase, and promoting upcoming exclusive member events and sales."
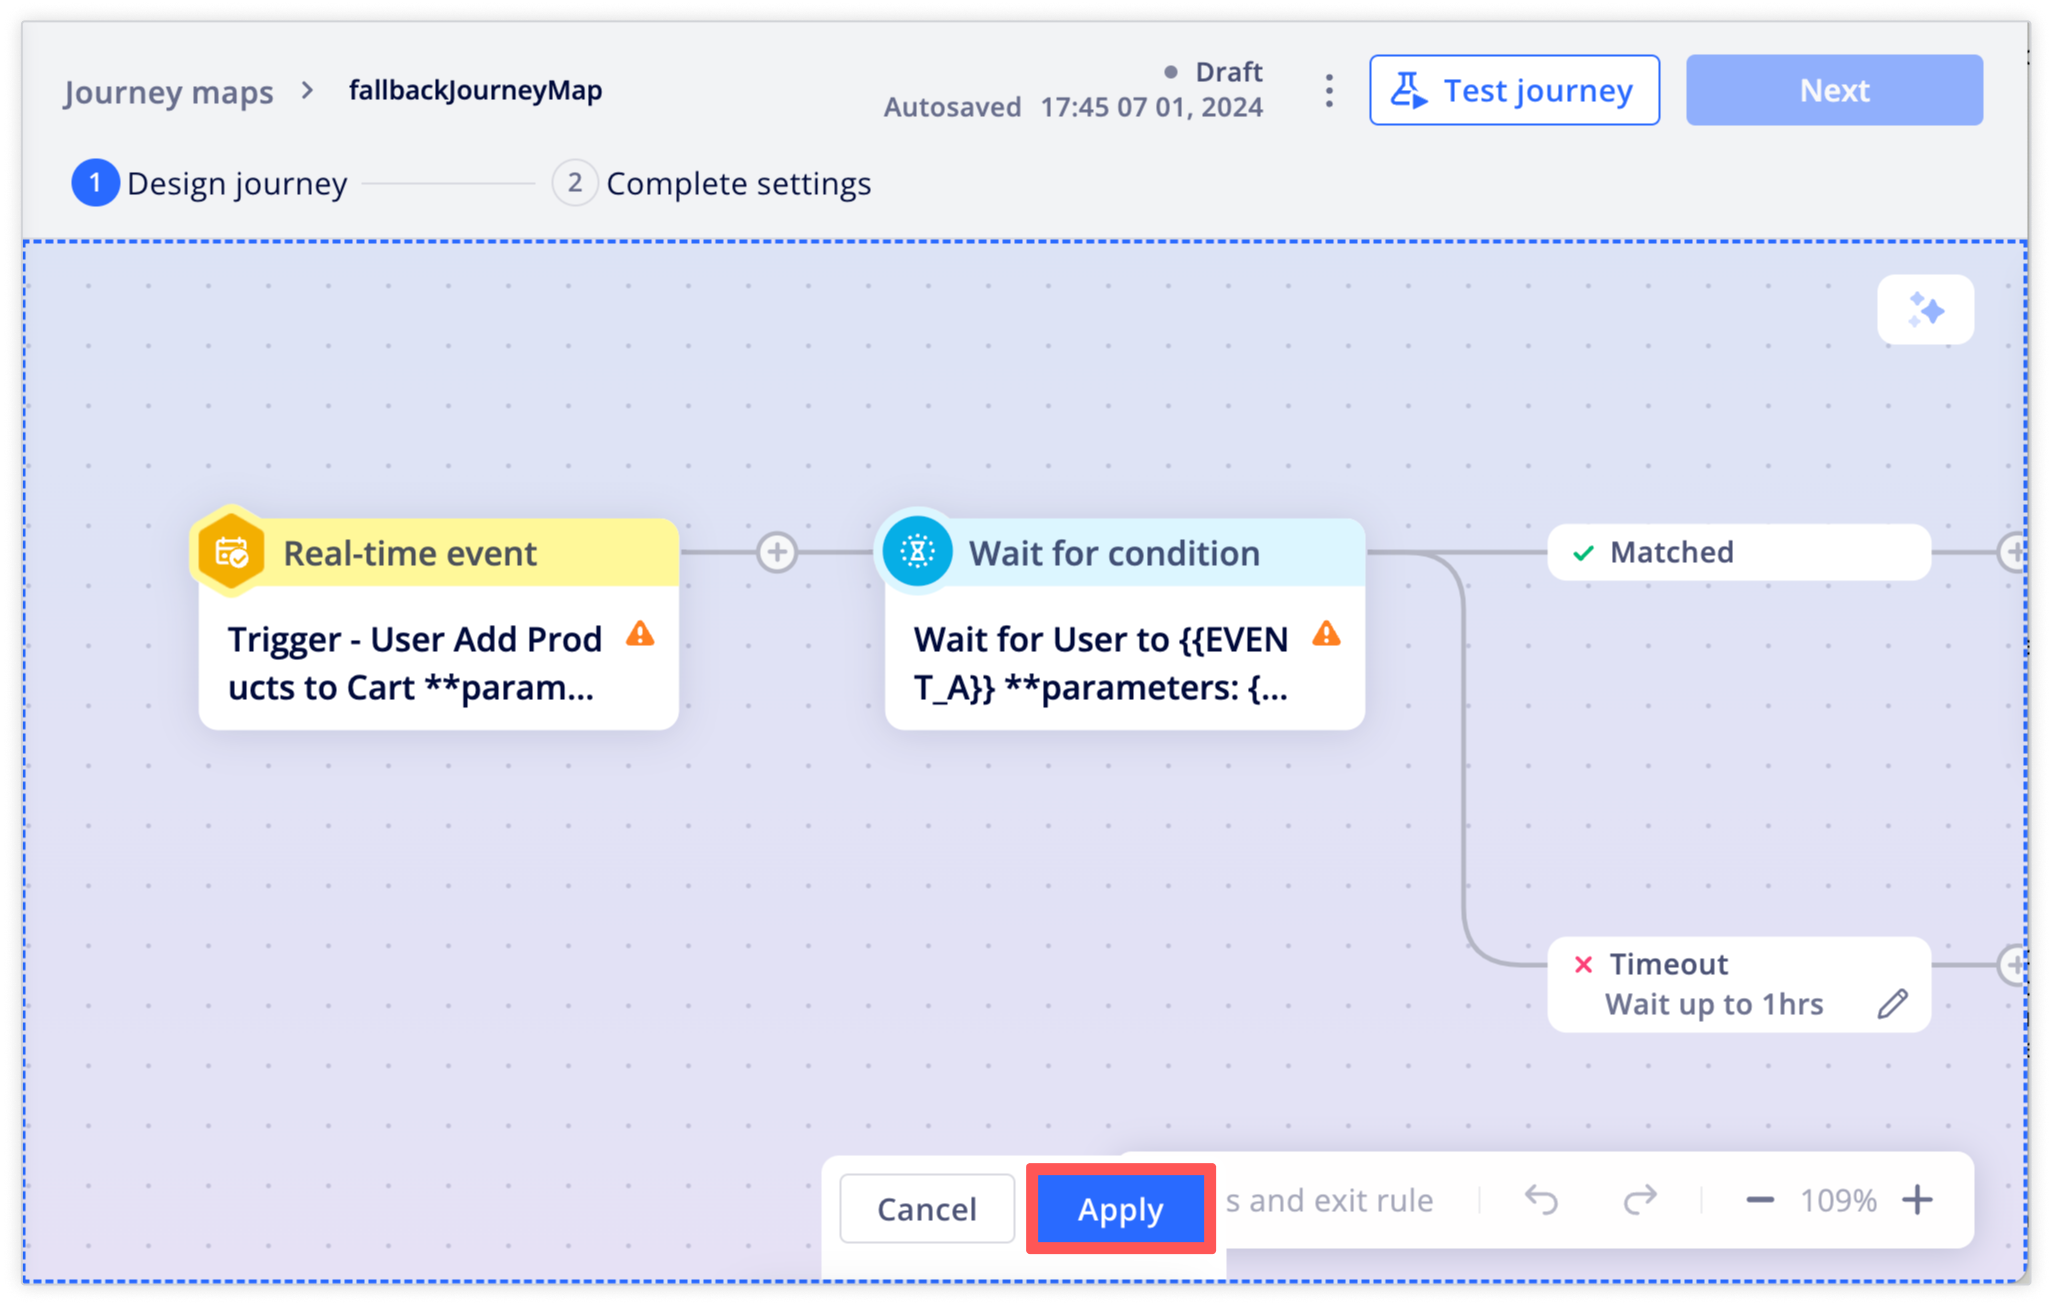
After copilot generates a journey, you can review the nodes and settings before applying the changes to your journey map.
Using journey copilot
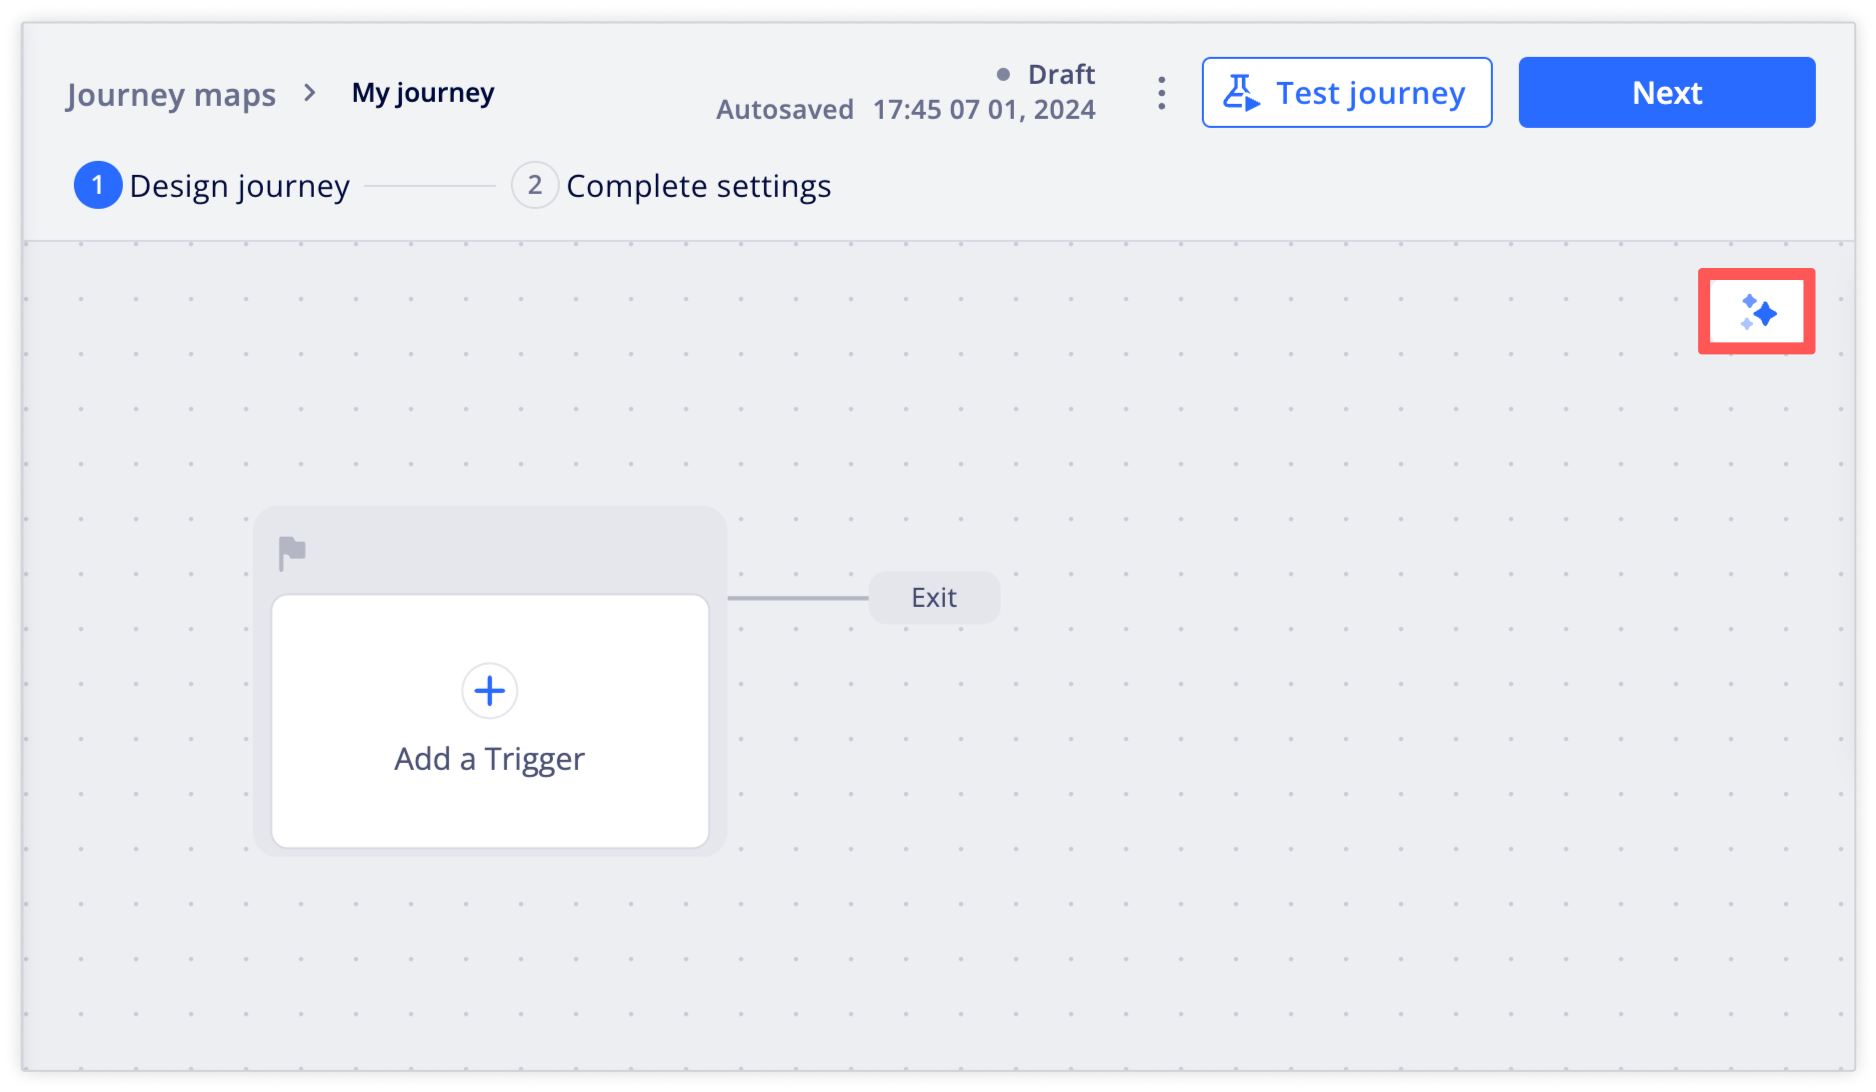
1. Open journey copilot
Open the journey map you'd like to edit and click the copilot icon at the top right corner of the canvas.
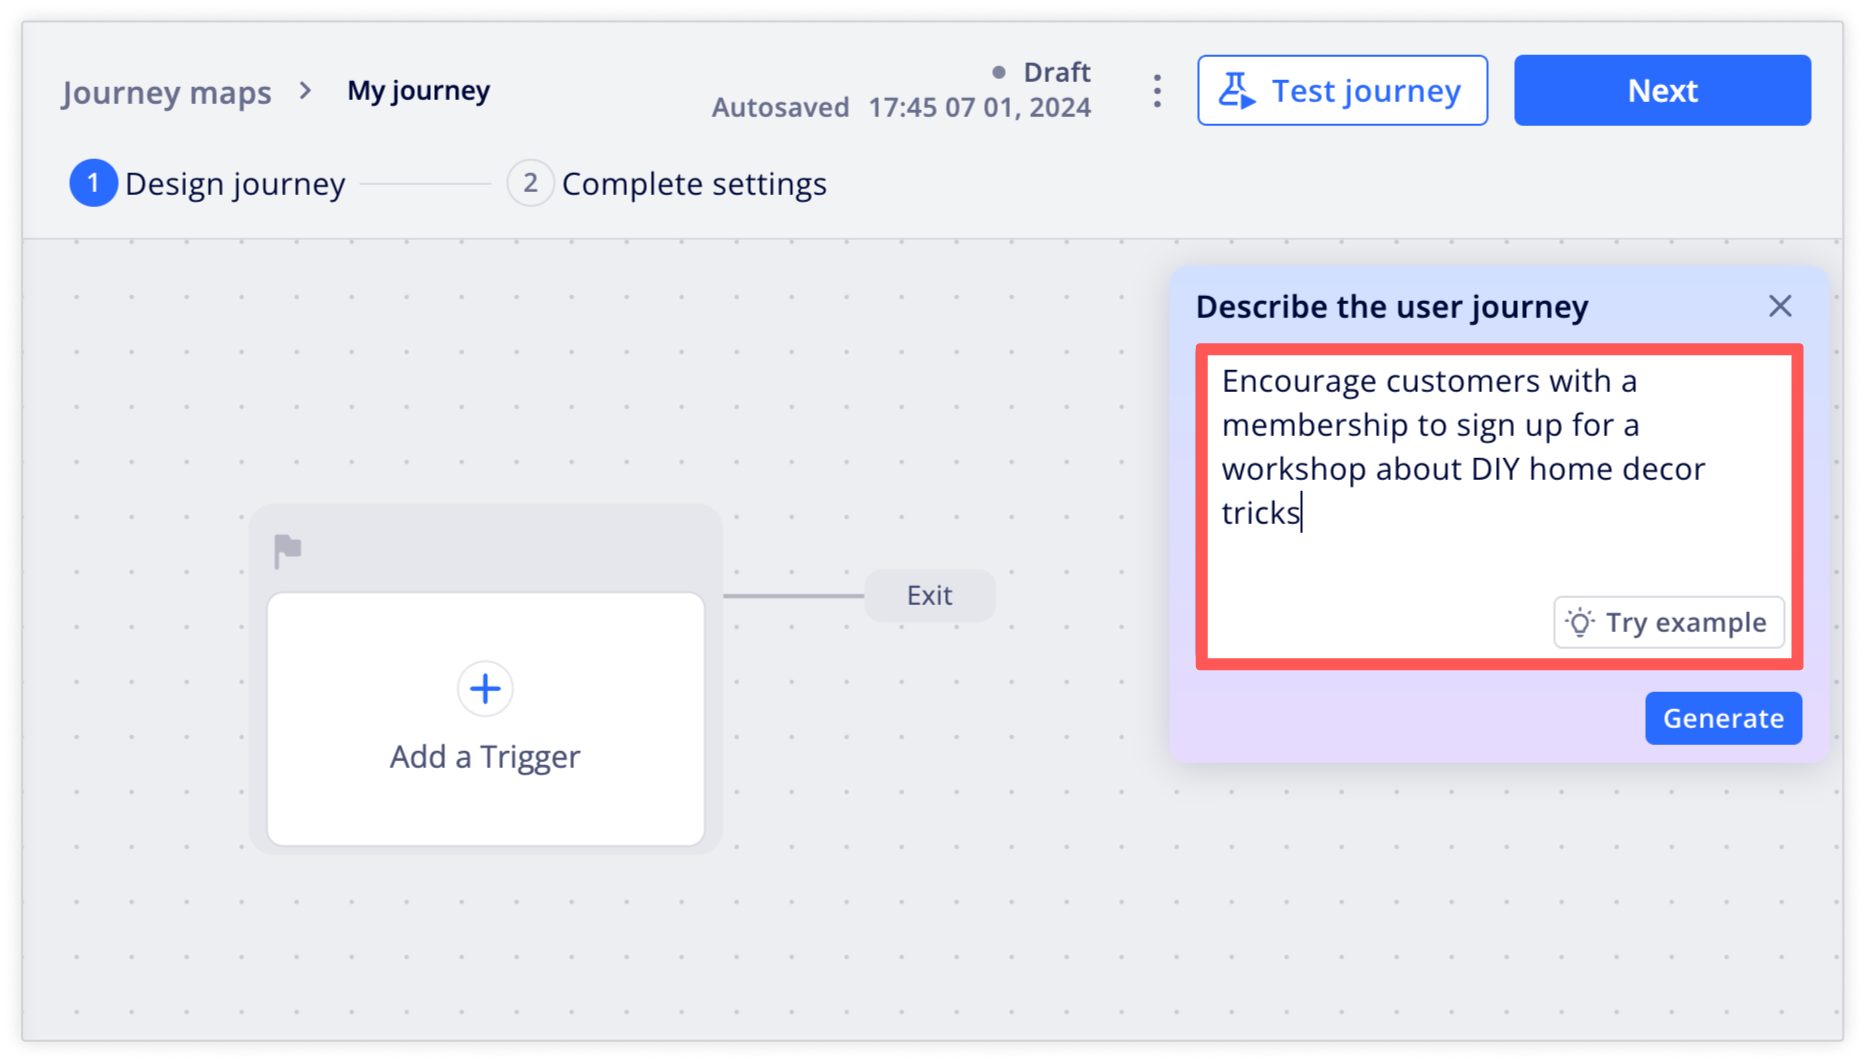
2. Enter a journey description
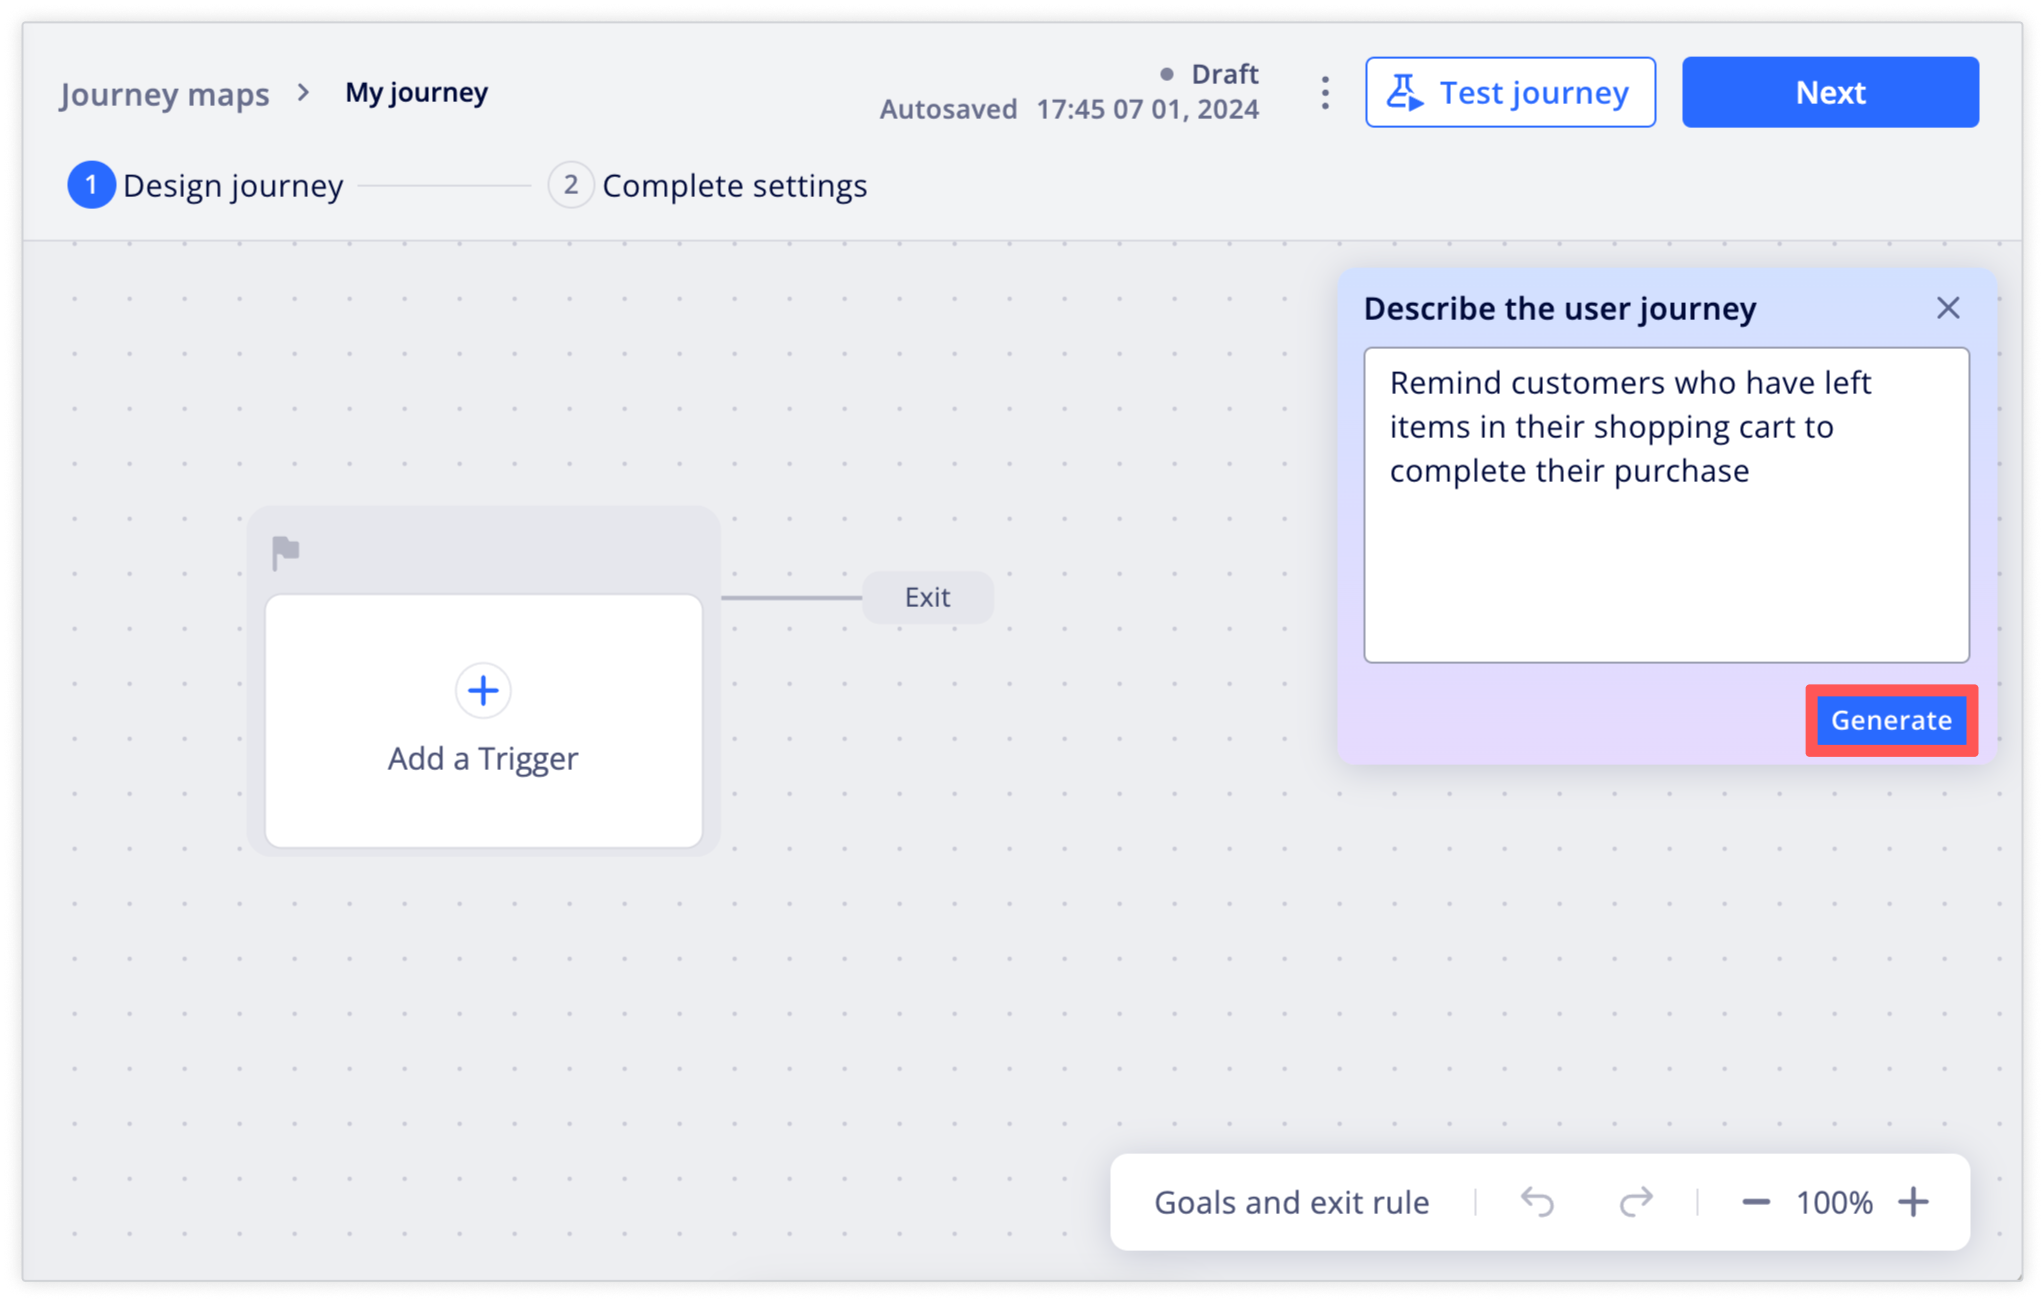
In the copilot window, enter a description of the desired user journey.

If you're not sure how to write a description, click Try example for a list of suggestions. You can click on any example to generate a journey based on that description.
3. Generate and apply copilot's suggestions
Next, click Generate to see what the copilot-generated journey looks like.
If the resulting journey settings are suitable for your marketing scenario, click Apply to add the journey to the canvas.
NoteThe journey generated by journey copilot won't be applied to the canvas until you click Apply.
The copilot-generated journey is now saved, and you can continue to add and edit journey nodes or directly proceed to configure the journey settings.
Updated 5 months ago