Snowflake
Snowflake gives you a powerful, flexible way to unify and analyze your customer data. By integrating it with your CDP, you can unlock deeper insights, build richer segments, and deliver more personalized experiences at scale.
Once you add a Snowflake connection, you can export data from AIRIS to Snowflake for advanced analysis and reporting.
Notes and limitations
Please note the following limitations when exporting data to Snowflake:
- Maximum number of rows: 10 million per table, per hour
- Maximum number of columns: 50 per table, per export
- To prevent performance issues, we strongly recommend limiting concurrent exports to 10 or less
In addition, the connected service requires time to process data before it's available for use, and this time can vary between different services. For example, a table with 5 million records and 50 columns can require 20-25 minutes to be fully uploaded and ready for use.
1. Set up key-pair authentication in Snowflake
If you haven't set up key-pair authentication in Snowflake, complete the following steps in Snowflake's guide for setting up key-pair authentication:
- Generate the private key.
- Generate a public key.
- Store the public and private keys securely.
- Grant the privilege to assign a public key to a Snowflake user.
- Assign the public key to a Snowflake user.
- Verify the user’s public key fingerprint.
2. Add a Snowflake connection in the Appier console
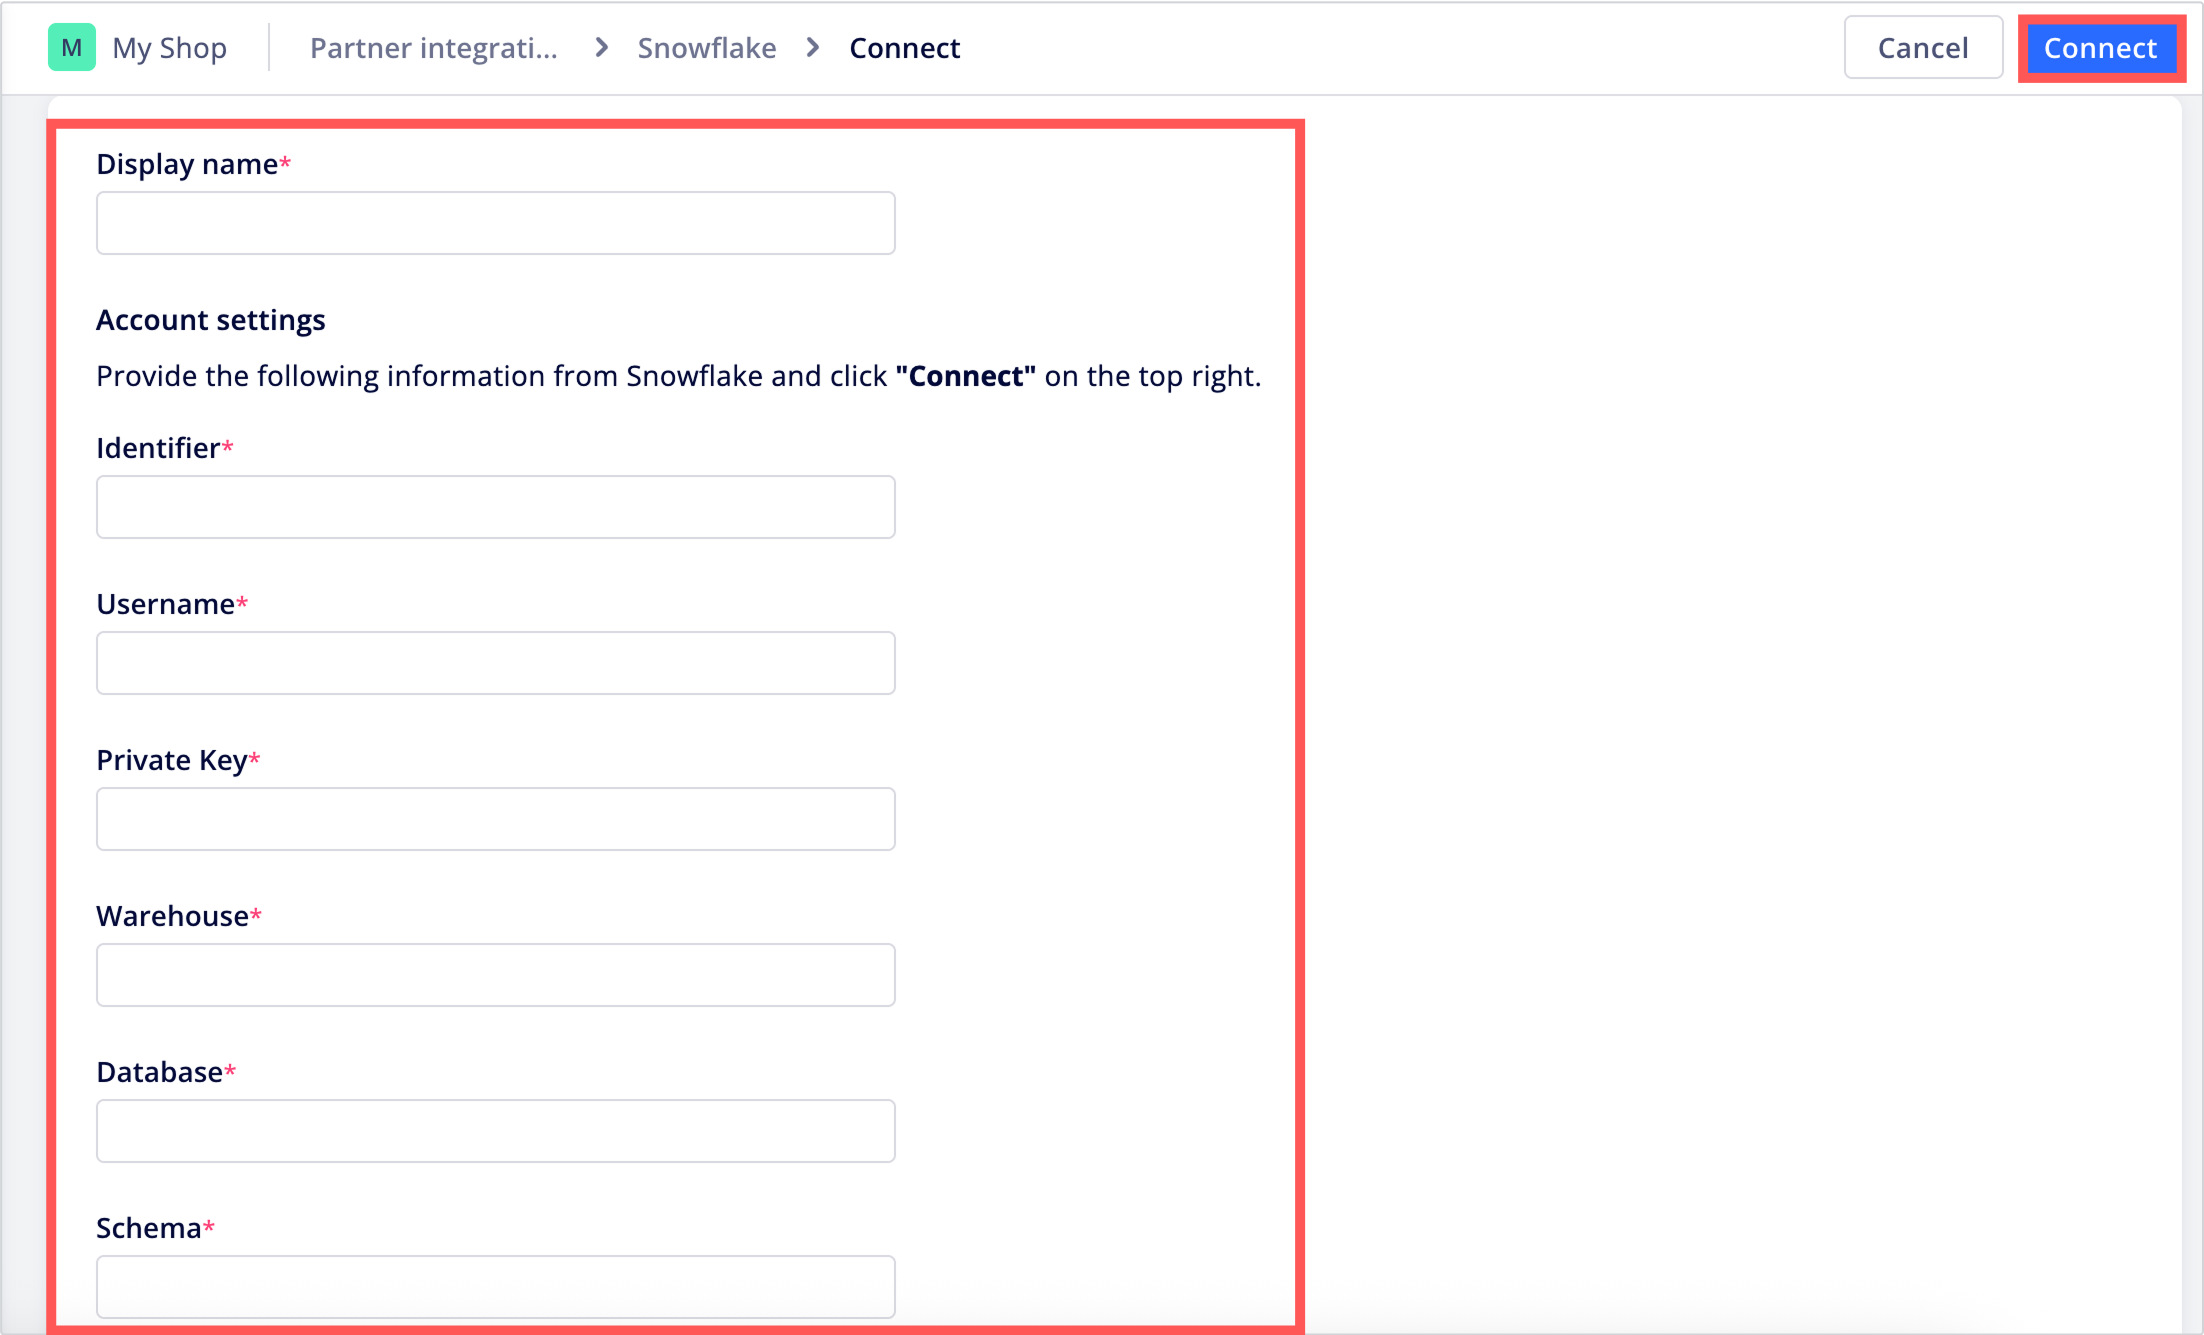
In the Appier enterprise console, go to Common settings > Integration > Partner integrations, click Snowflake, then click + Connect Snowflake.

Enter a display name and Snowflake account identifier and connection details, then click Connect. For instructions on retrieving the required details, refer to the following Snowflake guides:
- Instructions for retrieving account identifiers (Identifier and Username)
- Instructions for retrieving connection details (Warehouse, Database, and Schema)

3. Export data to Snowflake
You can export reports from AIRIS to Snowflake in two ways:
- Click Export manually from an activity report or profile report for one-time exports.
- Create a scheduled batch to automatically export reports on a recurring basis.
Updated 5 months ago
